Showing posts with label Tournament. Show all posts

Wednesday, 6 July 2016

Kings of June Game 2 - Kill & Pillage! vs Goblins with Orc Allies

Trolls, trolls, and more trolls
For Game 2 I drew Tony & his greenskins. I've played Tony at every tournament I've attended so far, with a record of two losses and one extremely narrow draw (seriously, I needed a roll of 2+ to win the game). This time he was running his army as Goblins with Orc allies.

His List:

3 x Regiment Rabble
3 x Troll Hordes, one with Brew of Sharpness, one with Blessing of the Gods, one with Brew of Strength
Regiment Fleabag Riders with Maccwar's
4 x War-Trombone
2 x Big Rocks Thrower
Flaggit with the Boomstick
Wiz with Bane Chant and Inspiring Talisman
2 x Mincer
Giant

Orc Allies:
Regiment Gore Riders with Brew of Haste
Krudger on Winged Slasher with Medallion of Life

A fairly elite list, as far as Goblins go. Those troll hordes were going to be tough to deal with unless I could get into their flanks. 4 war trombones and 6 rolls of lightning bolt each turn were another headache. And then there was his flying Krudger. My main reaction on looking at this list was 'gross'.

Deployment 

Deployment
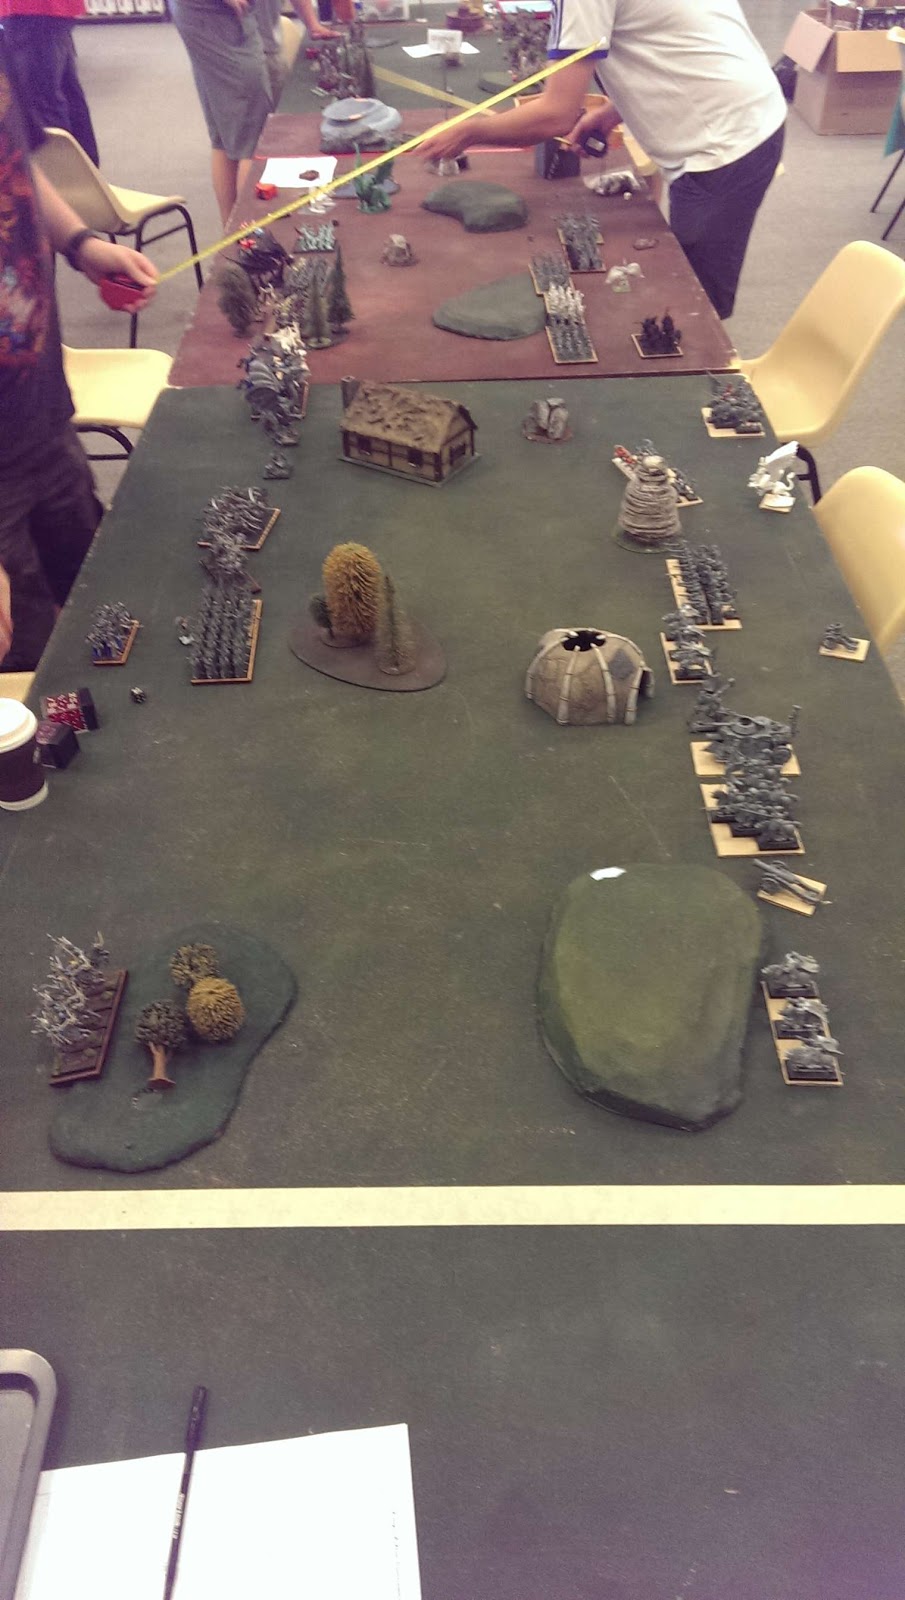
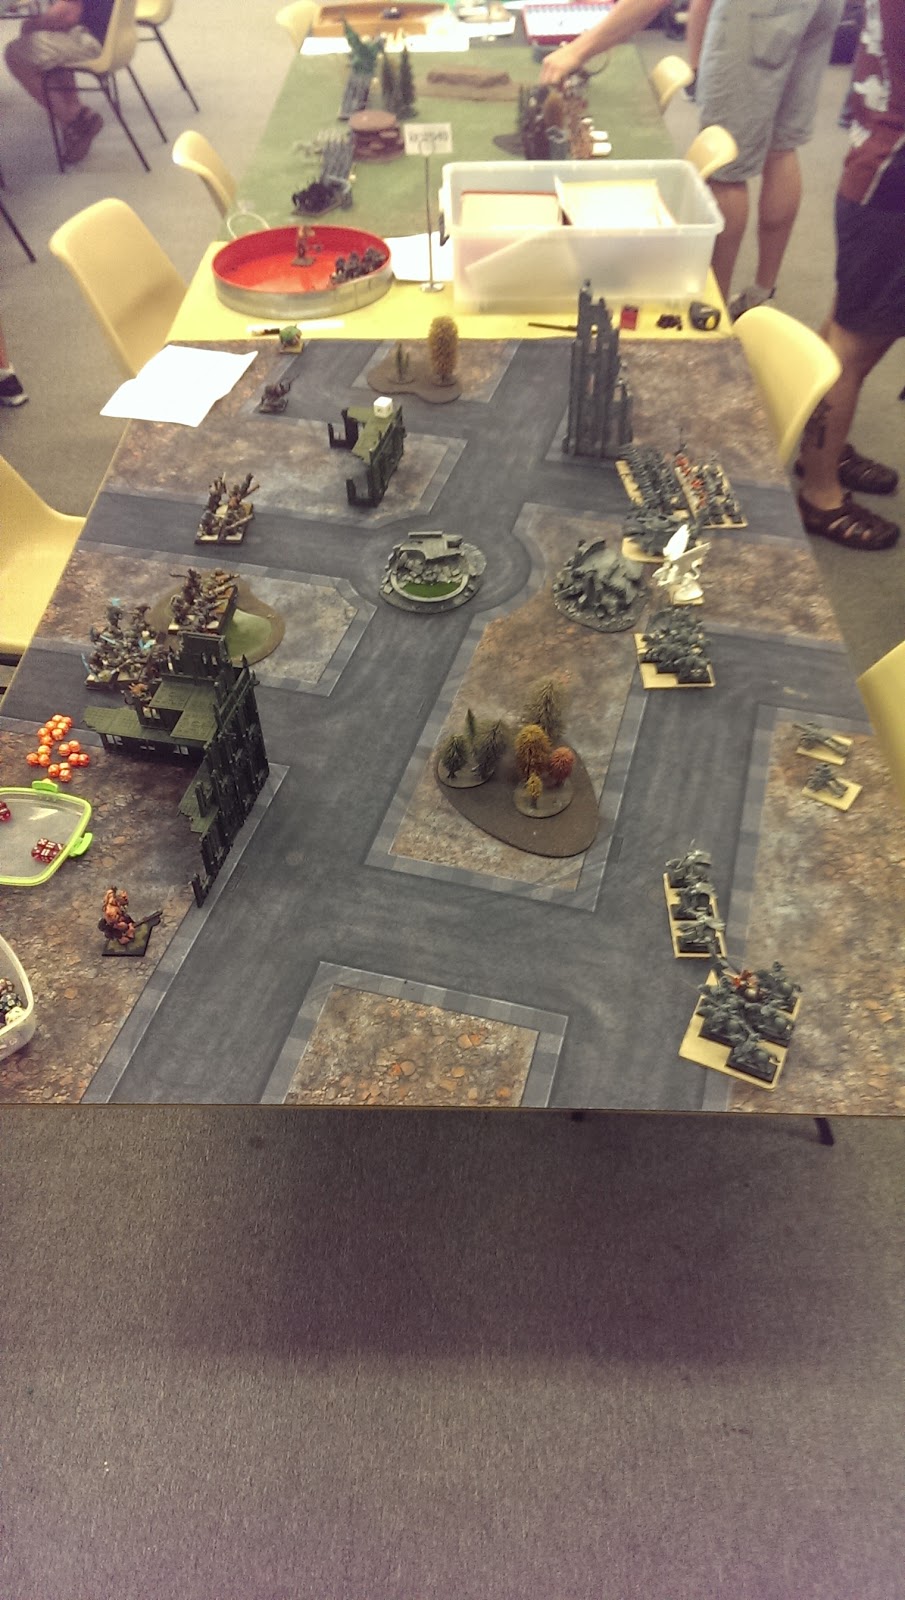
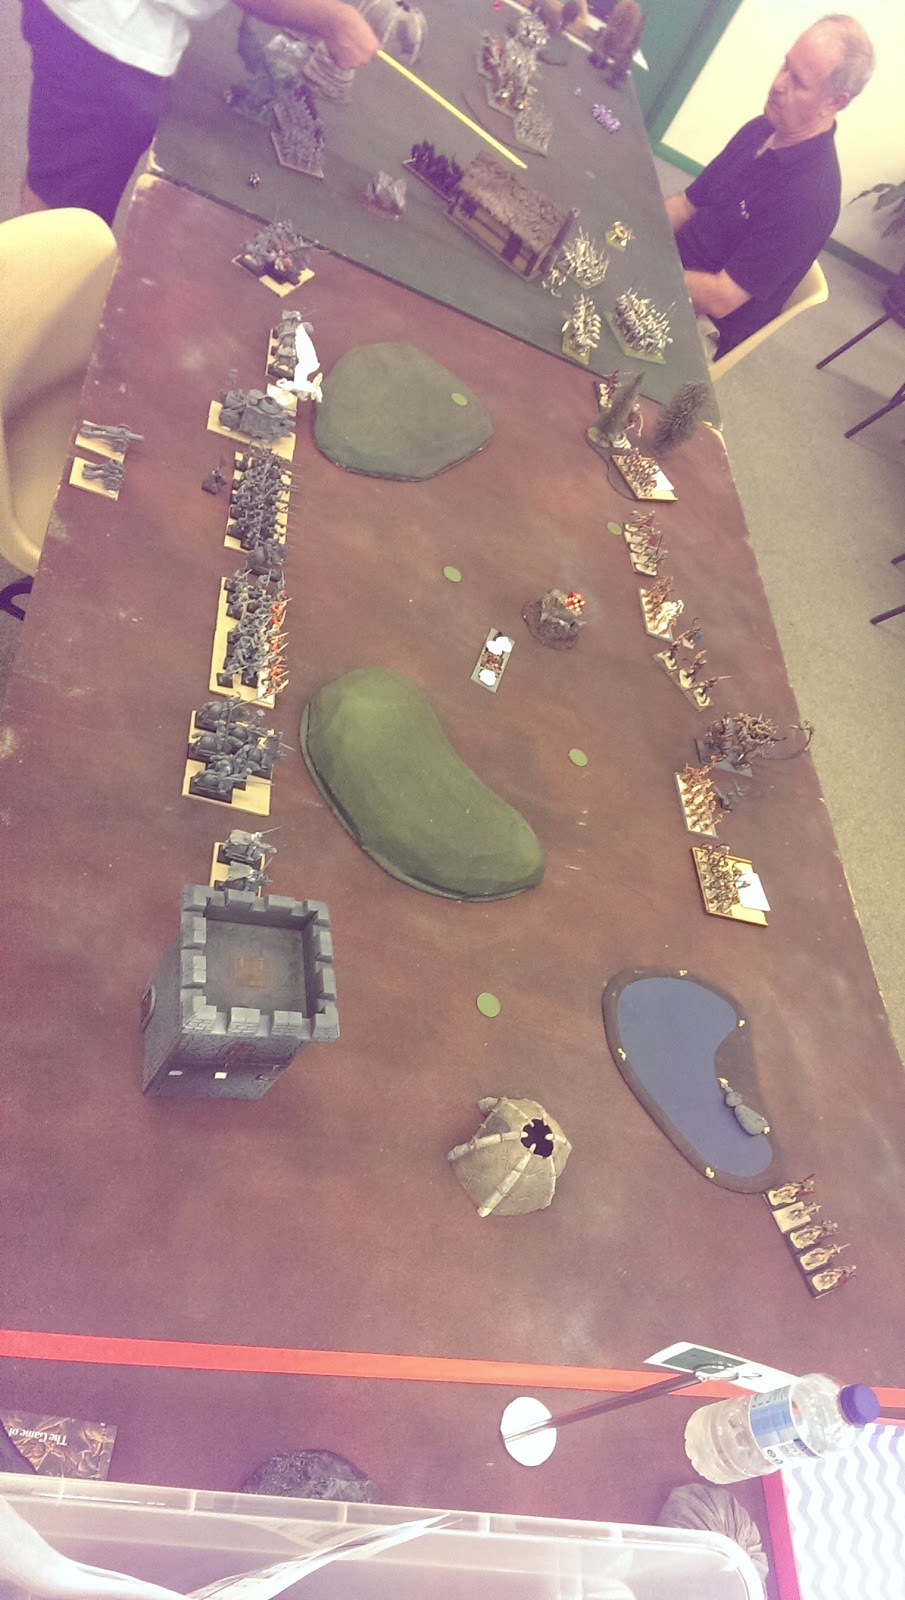
He chose sides. I had 2 more drops than he did, much to his surprise. With the terrain and placement of the pillage tokens, we were effectively playing on a 4'6" wide table. It lead to some tight deployment. Learning from last game, I made sure I had my spears matched up against his TC cavalry. I was mostly worried about his 3 hordes of trolls, 4 war-trombones, and his Krudger on a Winged Slasher. So a lot to worry about. Instead of using his Rabble as chaff, he seemed to be setting them up to take pillage markers. I thought he would put the allied Krudger near his allied Gore Riders, to inspire them. Instead he used his last drop to put it out on the far flank, where it would ultimately cause a lot of headaches.

Turn 1

Goblins Turn 1
He moved up, his Big Rock Throwers trying to snipe my knights.

Westhaven Turn 1
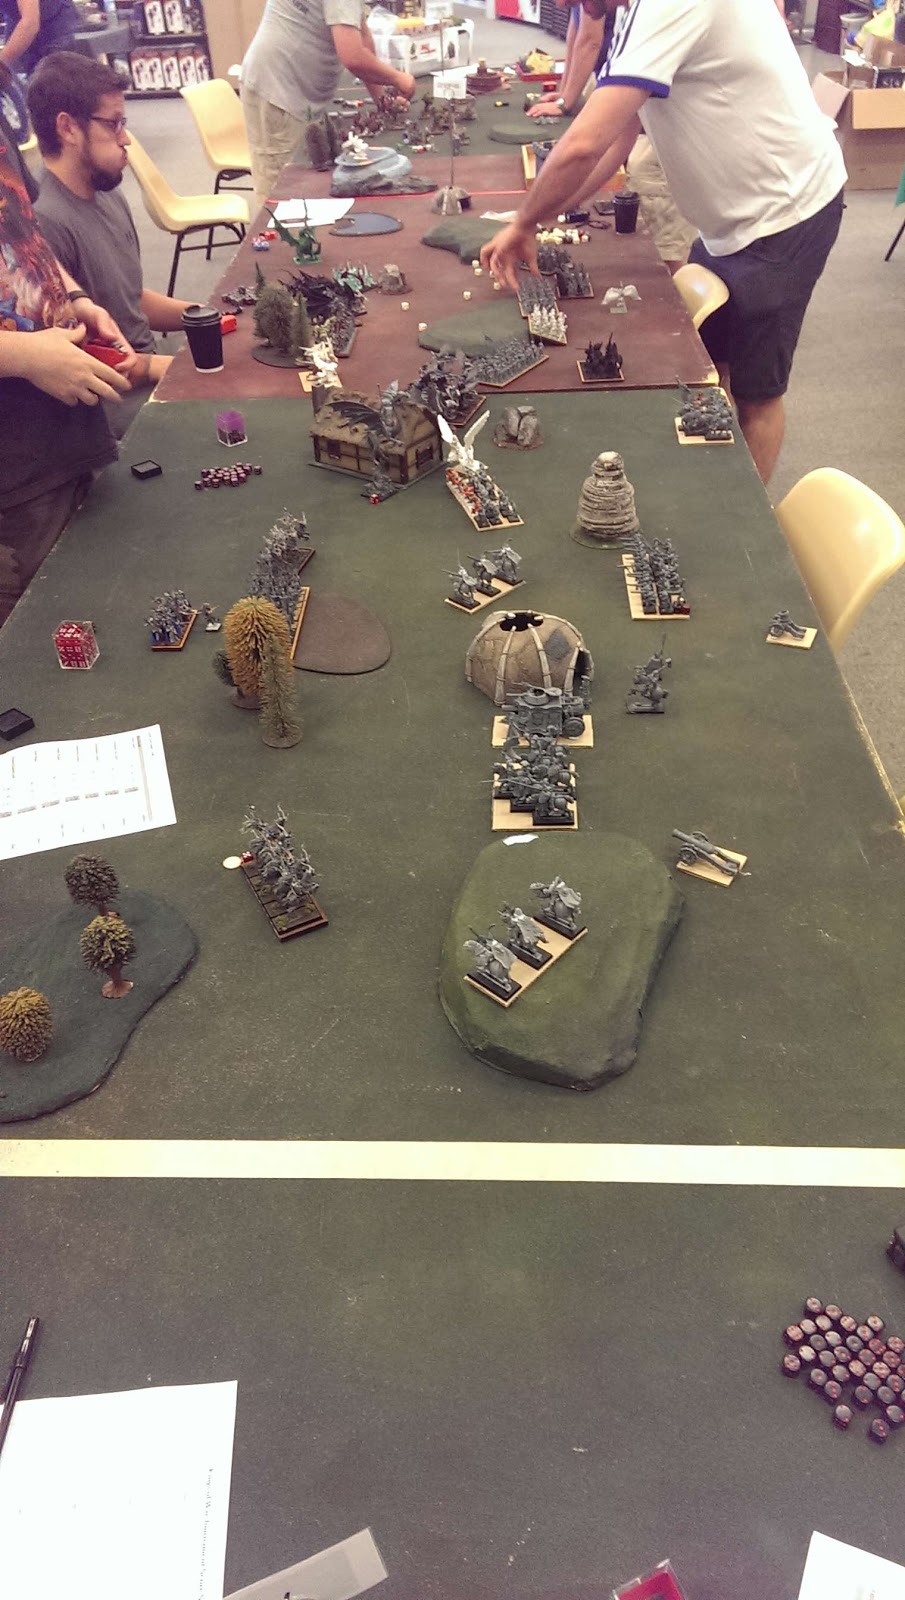
I also moved up, hoping to get my second wave perfectly positioned to counterstrike when he inevitably crushed my first wave. I backed my General up, nervous about getting charged by his Krudger. Took out one of his rabble units with some shooting, and put some wounds on his War Trombones. They were inspired by that flaggit though, so they held steady.

Turn 2

Goblins Turn 2
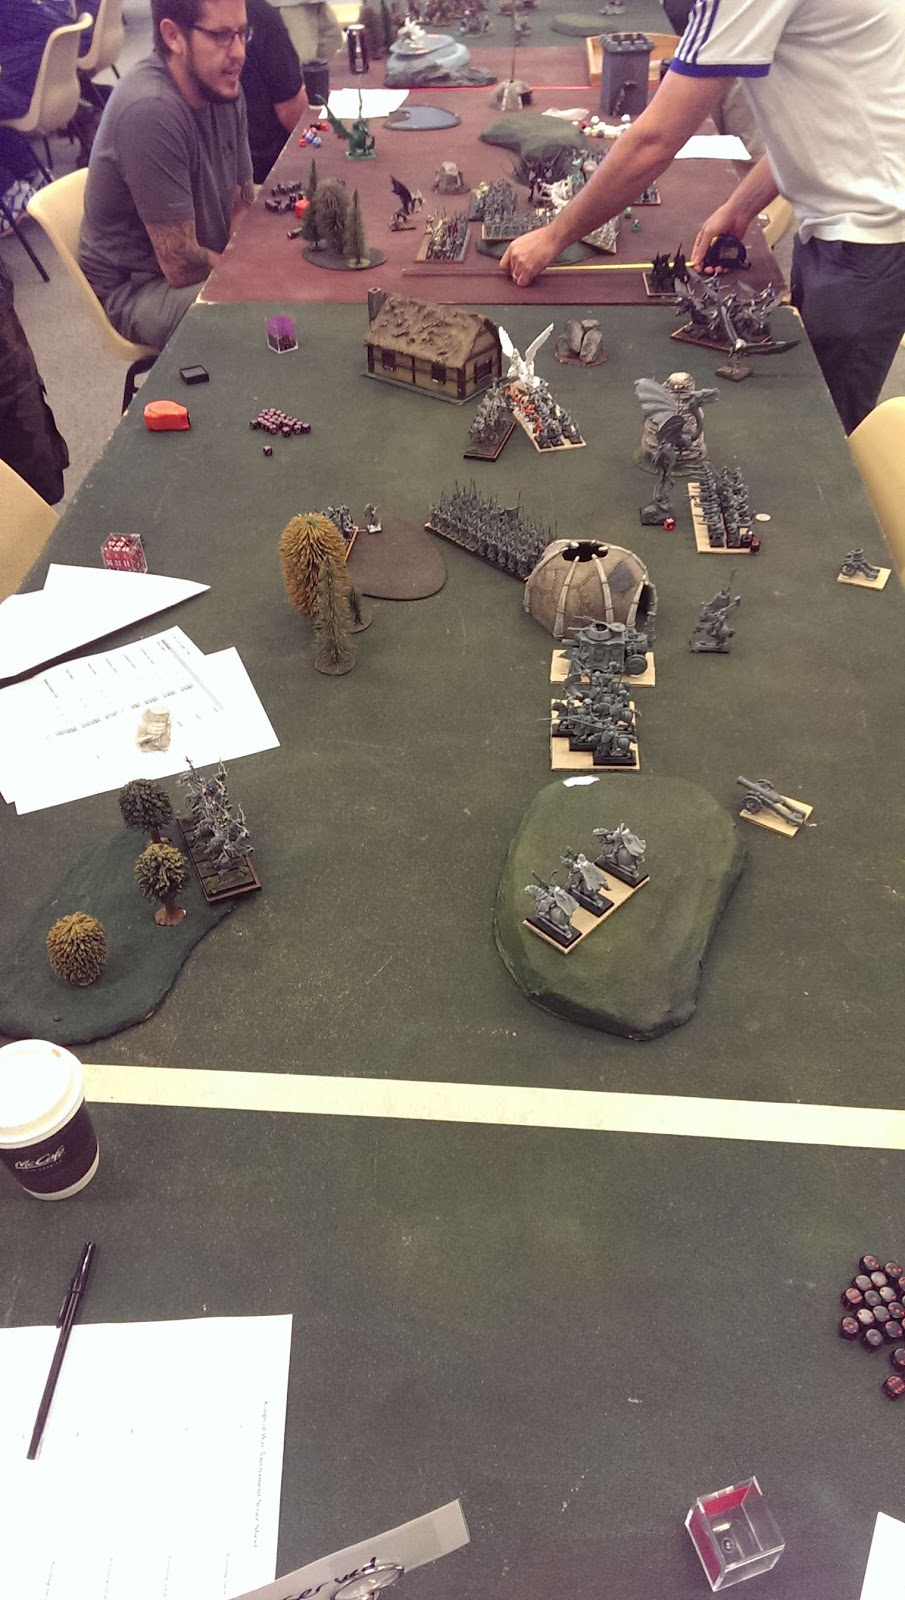
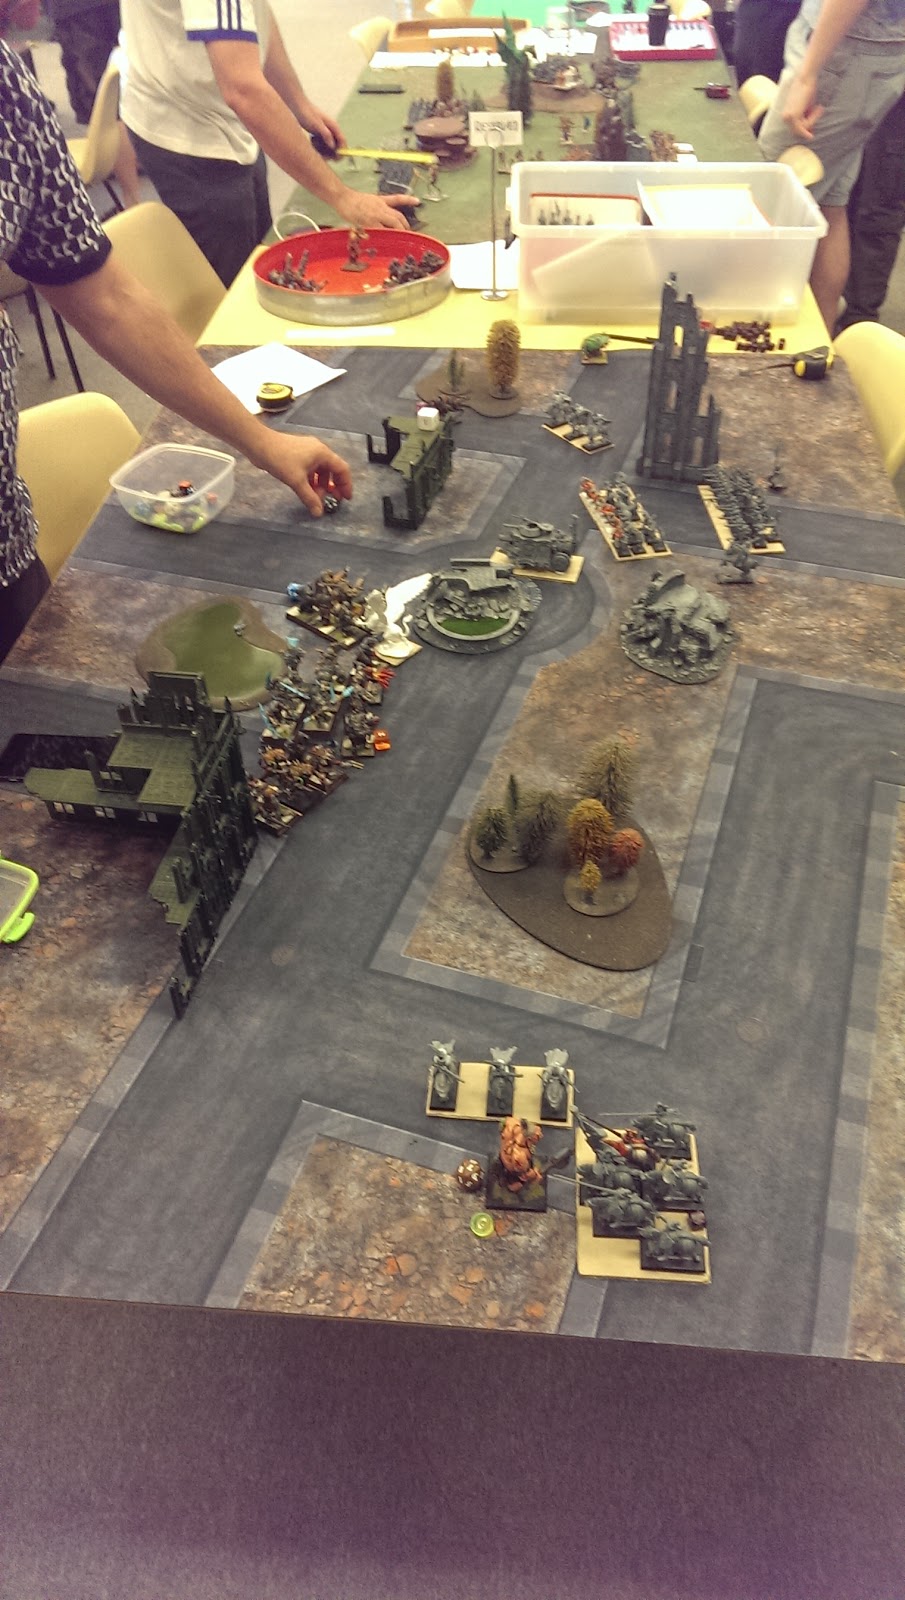
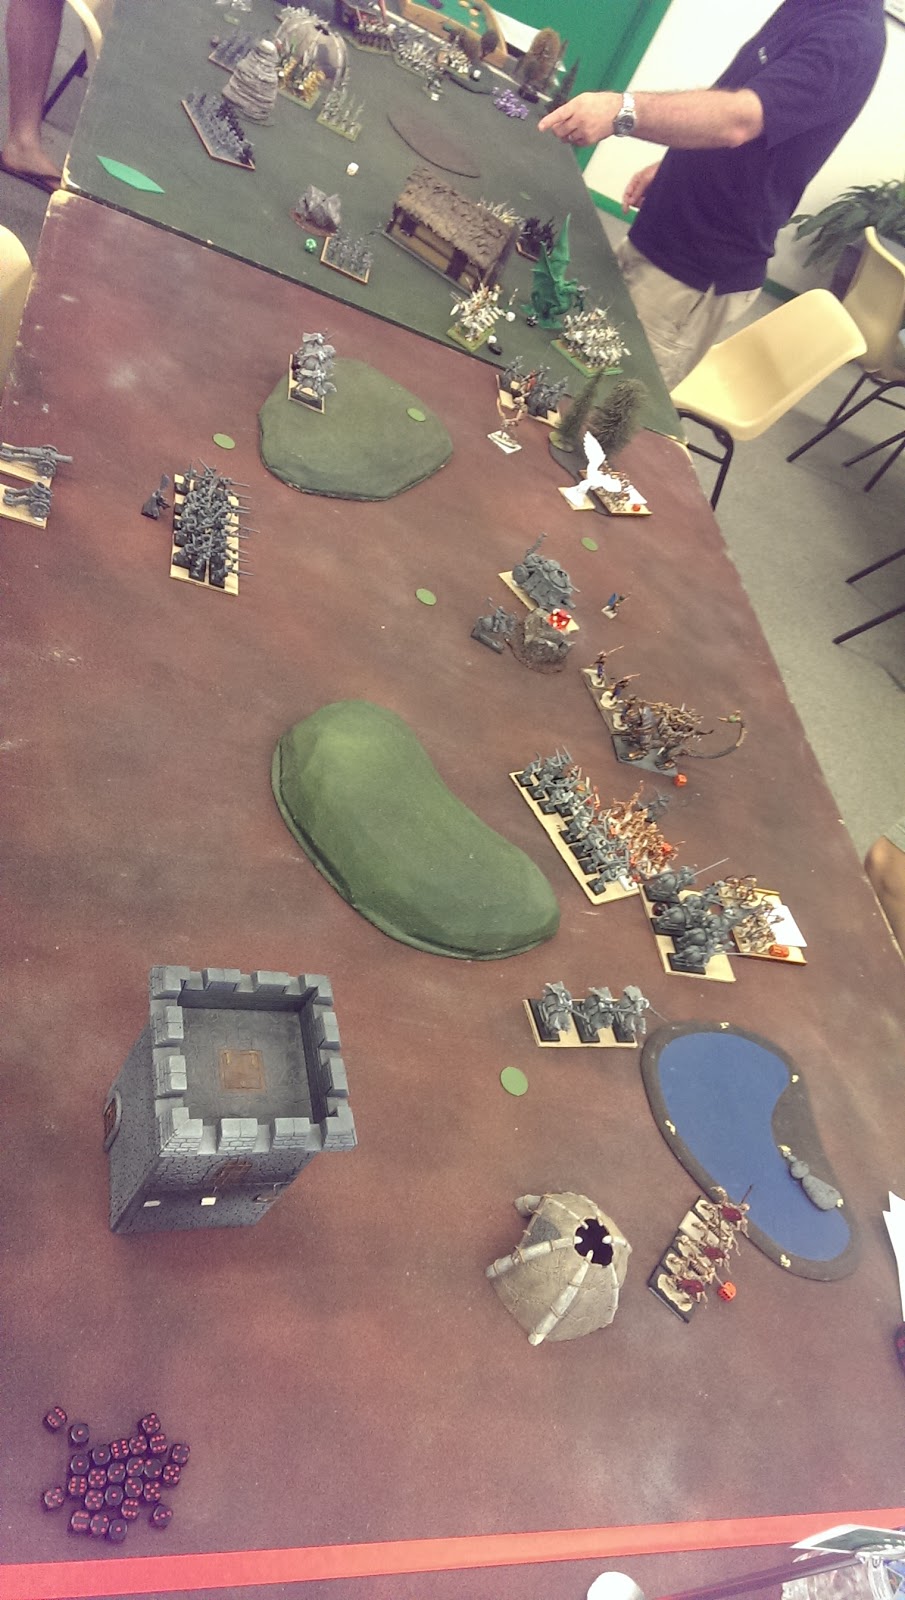
Oooofft. When the charge came it came hard. My halberd troops routed on my left, as you'd expect. My shield wall took 15 wounds but were only wavered, thanks to my very inspiring Wizard. To be honest I would have rather they routed. My Greatswords took 9 wounds, also holding thanks to inspiring. My spearmen couldn't hold against the double charge from the Krudger and the Fleabag riders. His war trombones took out my Hero as well.


Westhaven Turn 2
My wavered Shield Wall really gummed things up here. All I could do was shift my knights about in what was the most frustrating stage of the game. My spears were also wavered from the previous rounds shooting (thanks to the tromboners). It wasn't all bad. I double charged his giant and took it out, I put some hurt on his Fleabag Riders and Gore Riders, I put more wounds on his war trombones with my rifles, taking out one finally. But it wasn't the devastating counter that I needed. If my purple knights, swordsmen horde, and spears could have charged maybe it would have been enough.

Turn 3

Goblins Turn 3
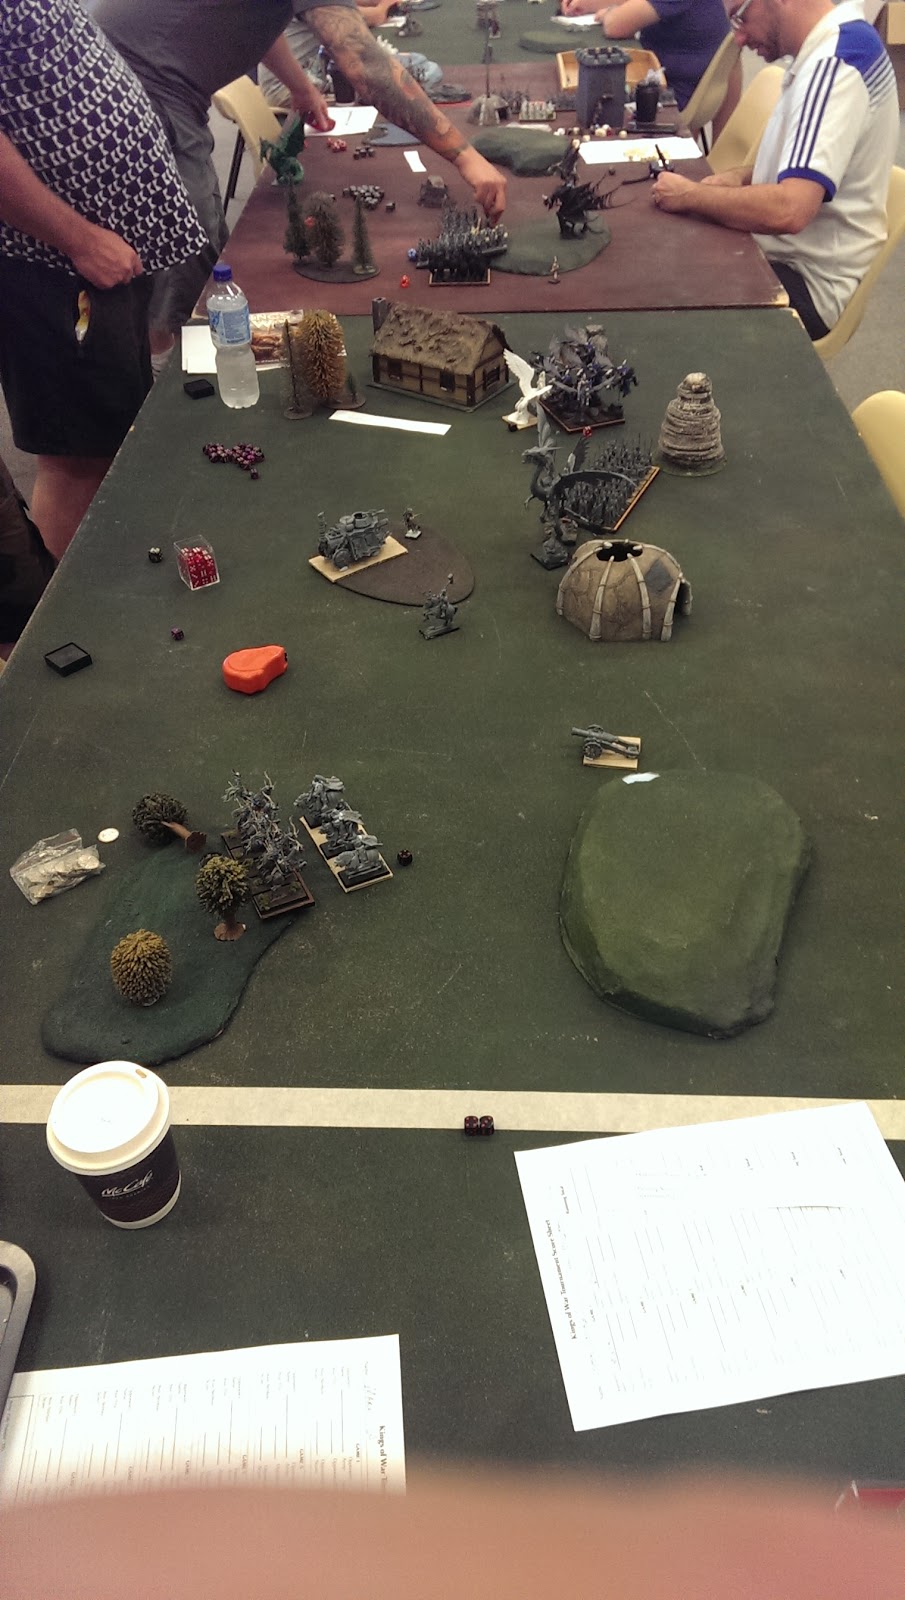
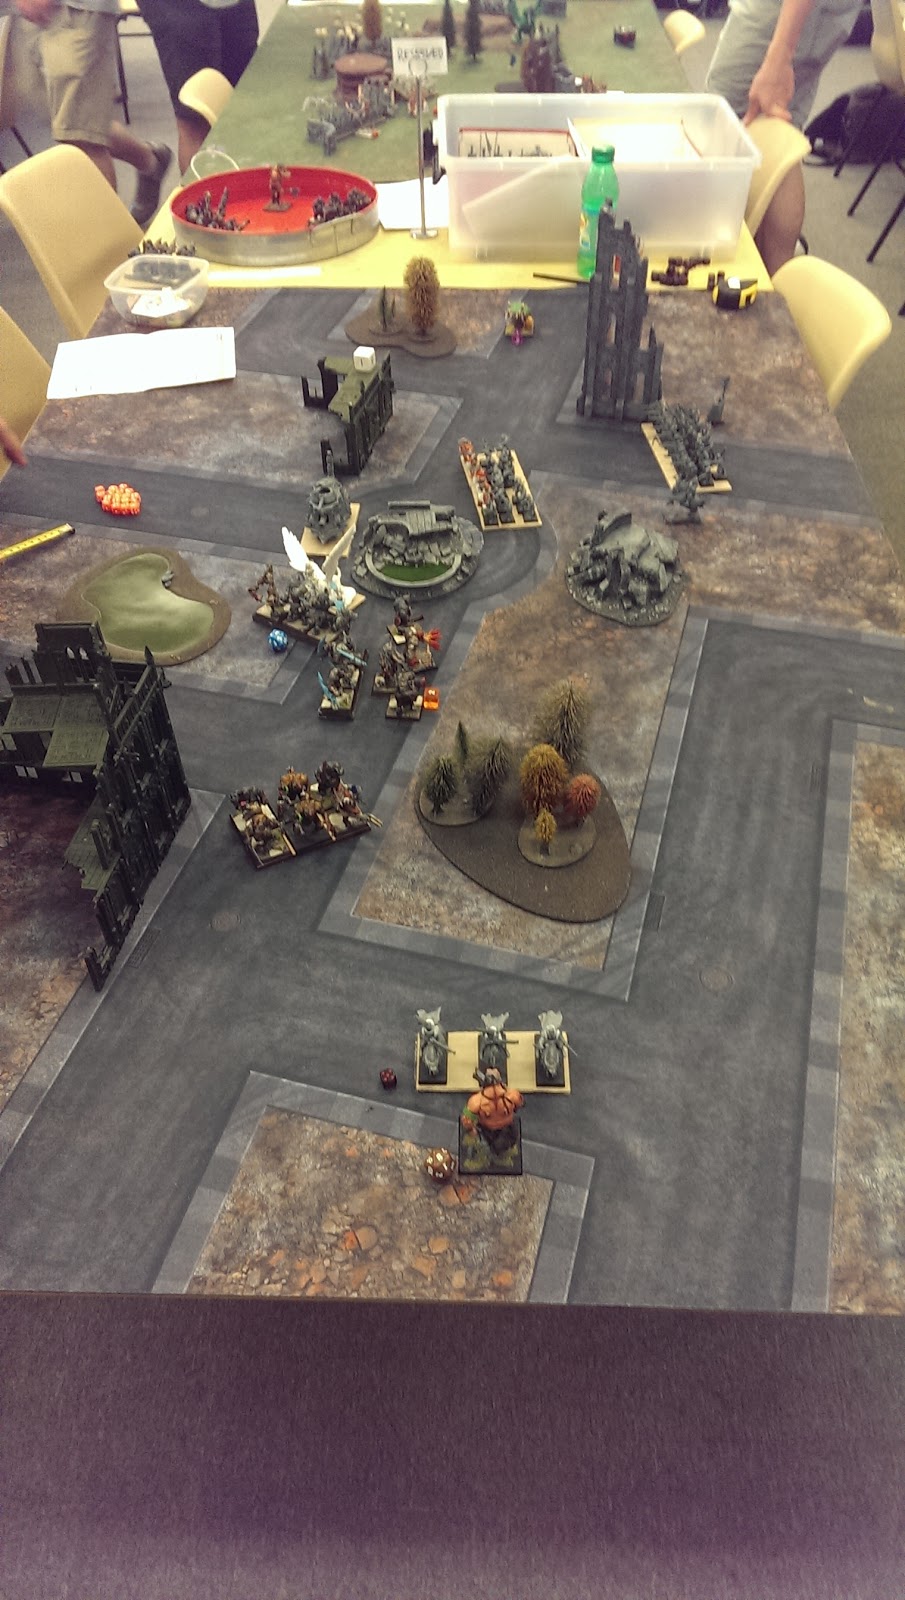
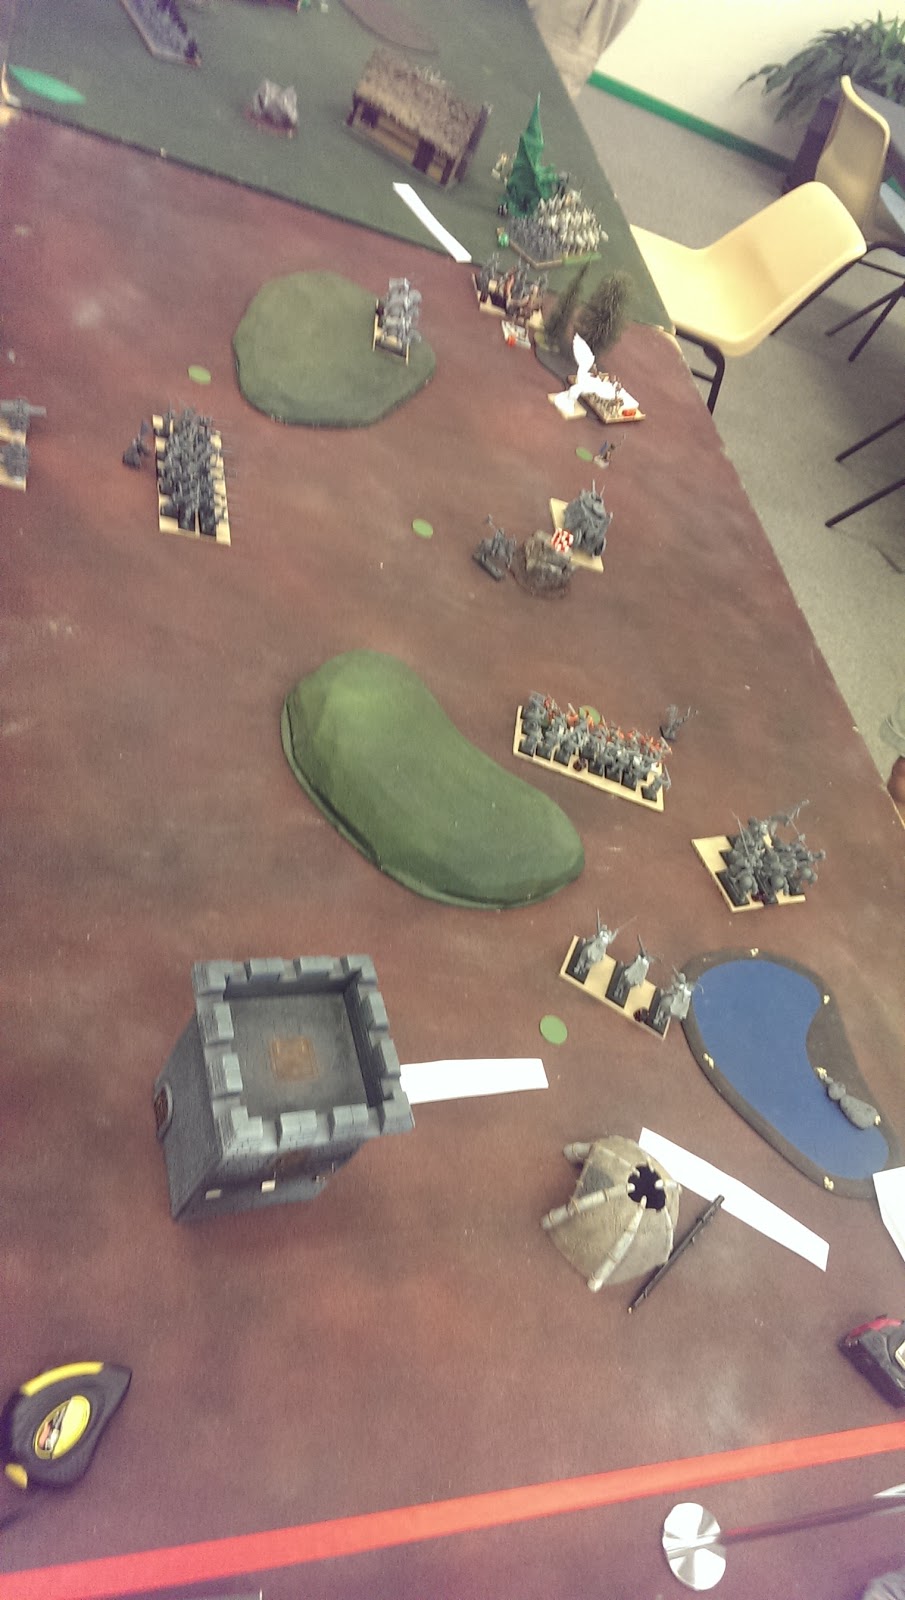
He predictably routed my swordsmen horde and greatswords. He put a ton of wounds on my steam tank but it held. His Krudger ignored my General to go for one of my rifle troops in the backline. His war trombones peppered my purple knights.

Westhaven Turn 3
I double charged his center troll horde with my two knights regiments and routed it, thanks to getting a flank in. My rifles finally took off a couple more of his war tromboners. I thought I'd play funny buggers with my General and fly into his backlines instead of going toe-to-toe with a couple of mincers.

Turn 4

Goblin Turn 4
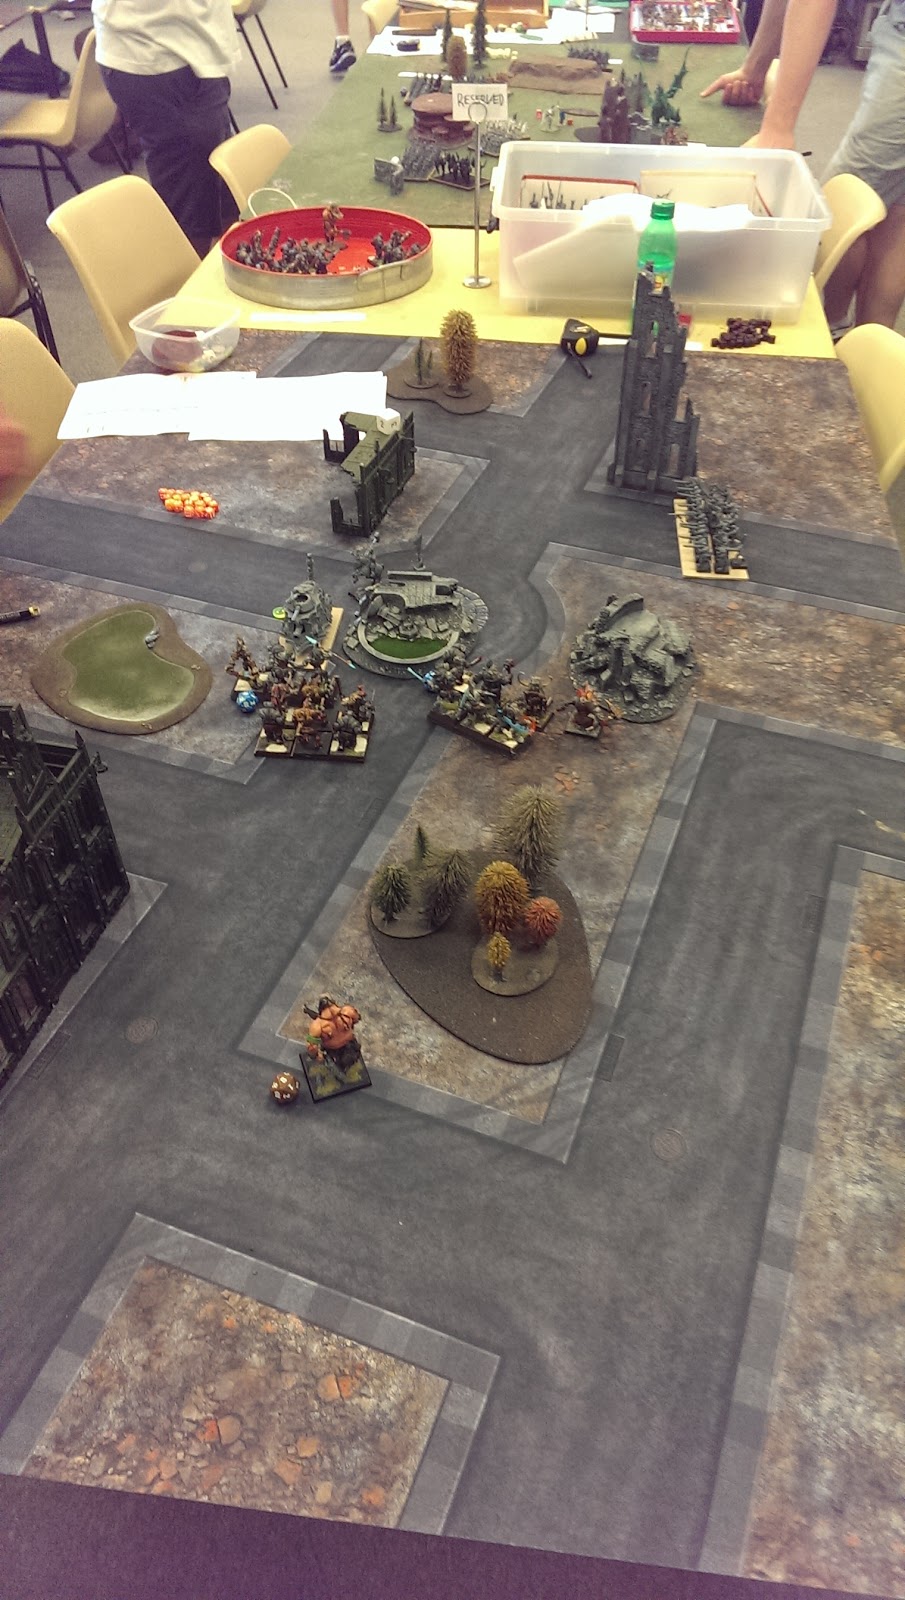
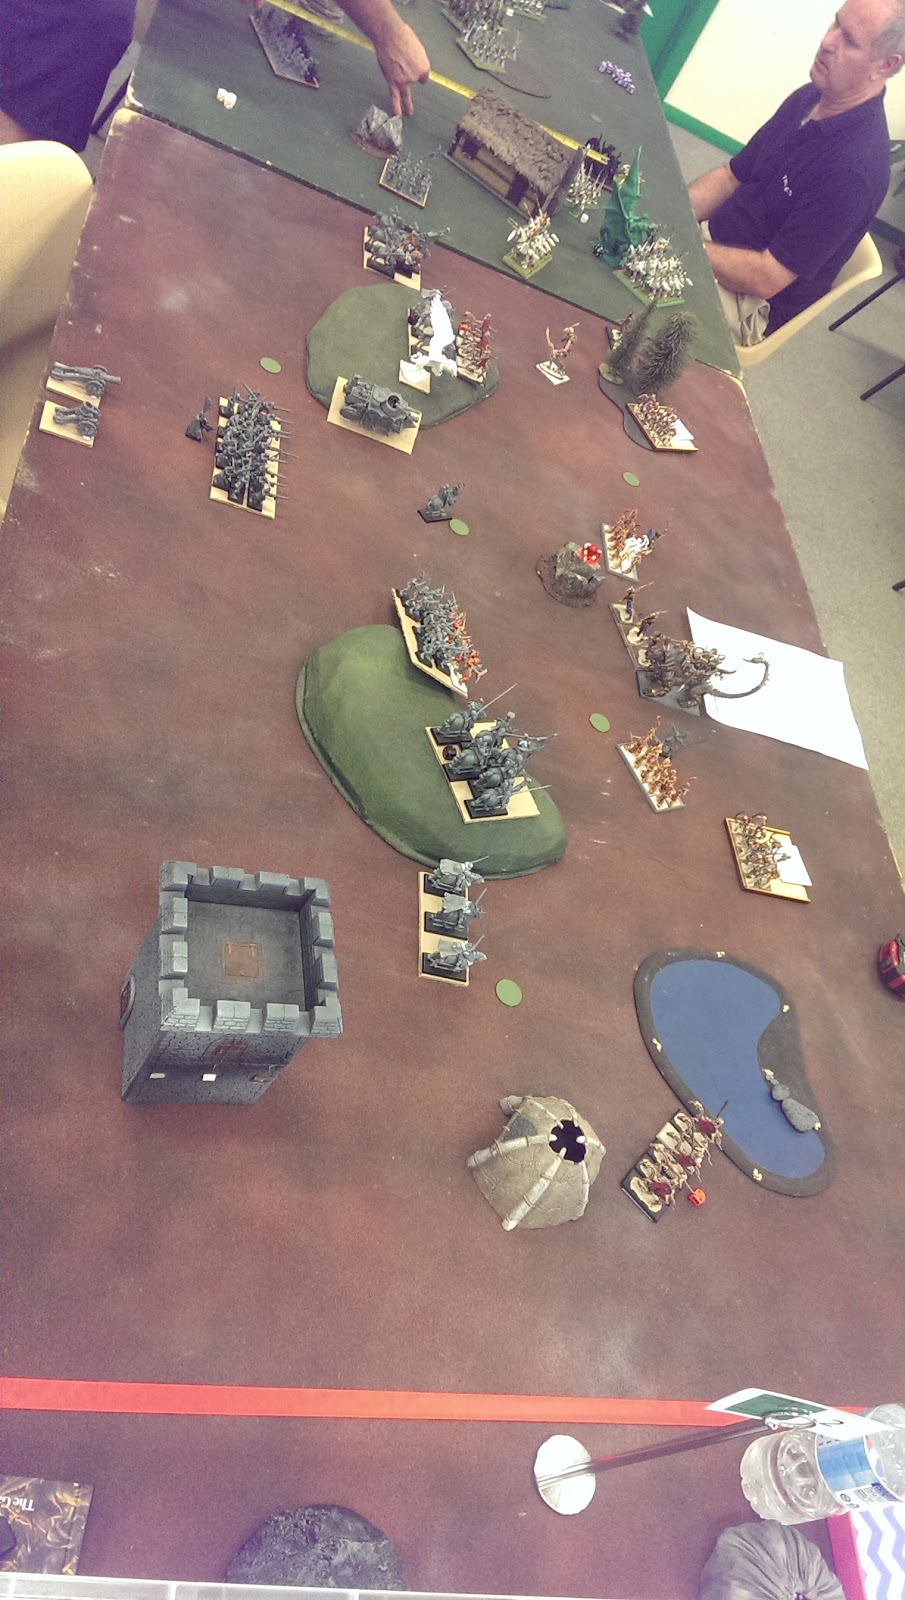
This was basically it for me. His trolls charged my Steam Tank and purple knights, routing them. The knights had a bunch of existing wounds from the war trombones so they didn't need much. In the biggest stinker of the day though his Big Rock Throwers ~both~ hit my orange knights, put 9 wounds on them, and they popped. His Krudger continued to clean up my rifle troops, and his remaining war trombone and lightning users took out my spears.

The rest of the game was basically to see if I would get completely tabled or not. We went to turn 7, and I was. 20-0 to Tony.

Result

This was the only time I've ever been completely tabled in KoW. It was pretty brutal. I got a little unlucky with my swordsmen wavering in the absolute worst place, and losing a regiment of Knights to his rock lobbers was just rude as hell.

But I also played pretty poorly. I wasted my greatswords and both spear regiments. I should have held in place Turn 1, letting him come all the way across the table to me. It would have given me at least 2 full turns of shooting before he inevitably charged me. Instead I made it a easier for him. My General did his job ok, tying up a lot of points of troops in a pointless game of ring-around-the-rosy. 

But in the end it was his 54(!) Piercing 1 breath attacks that sunk me. I just had no answer to it.

Sunday, 26 June 2016

Kings of June Game 1 - Pillage! vs Abyssal Dwarfs

The resolute men of Westhaven clash with the Legion of Desolation
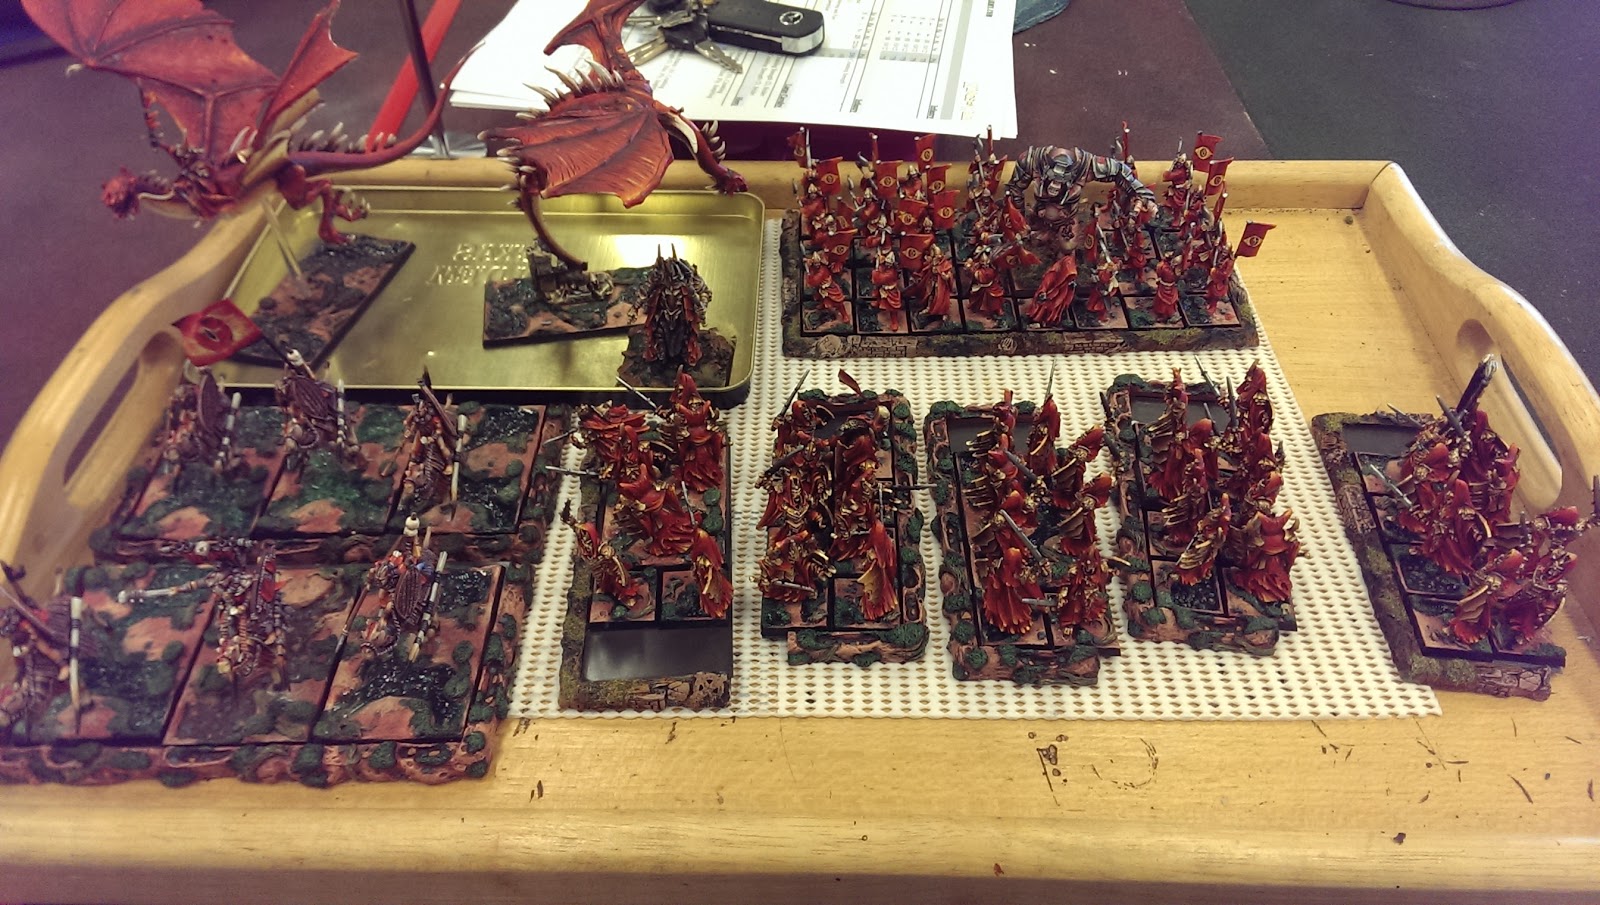
I drew Tim N & his Abyssal Dwarfs for Game 1, playing Pillage with 6 tokens. Tim is a regular in the Canberra KoW scene, and usually finishes at or close to the top of tournaments when playing his Abyssal Dwarfs.

My List:

Discussed here.

His List:

Horde Blacksouls
Regiment Immortal Guard with Diadem of Dragon-kind
Regiment of Decimators with Heart-seeking Chant
Horde Lesser Obsidian Golems with Brew of Courage
Regiment of Abyssal Halfbreeds with Maccwar's.
Horde of Abyssal Grotesques with Blessing of the Gods
2 x G'rog Mortars
Dragon Fire-team
Overmaster on Great Abyssal Dragon with Medallion of Life
Slavedriver with Healing Charm
Abyssal Halfbreed Champion
Supreme Iron-caster on Great Winged Halfbreed with Surge (10) and The Fog
Greater Obsidian Golem

This was his 'softer' list, for more casual games. Usually he runs three heavy mortars and two dragons.

Deployment:

Deployment
He chose sides, and deployed his units in a modified version of his infamous 'Cube of Despair' formation. The large amount of blocking terrain made things difficult for me to find firing lanes, but otherwise I thought I did ok. I had 6 extra drops, putting down my tank, knights, general and shield wall horde after he was all out.

Turn 1

Abyssal Dwarfs Turn 1
He moved his cube slowly forward, and his mortars landed 5 wounds on one of my knight regiments.

Westhaven Turn 1
My shooting didn't do much, a wound here or there. I moved forward, hoping to secure better position to flank his cube as it moved forward. My hero rode off hoping to get into the war machines or Decimators maybe.

Turn 2

Abyssal Dwarfs Turn 2
His Cube held in the centre, his flanks advanced, and his shooters put a few wounds on my right-flank spearmen, as well as my wizard. His halfbreeds routed my halberds on my left, but his champion was only able to wound the other troop. His dragon only managed to waver my mounted scouts on the charge, but we was able to move out of my horde's charge arc, the diagram is slightly wrong. The charge on my scouts suprised me, for some reason I thought he'd either charge my shield wall horde or back off.
Westhaven Turn 2
I continued to advance on the cube, shooting heavily at his Abyssal Grotesques. I double charged his Abyssal Halfbreed Champion on my left, hoping to overrun him and get my general to charge into the halfbreed regiment. Alas we were only able to waver the blasted thing. I pivoted my shield wall on my right, setting up a rear charge on his dragon. At this point I thought that I'd definitely be able to get into his flanks.

Turn 3

Abyssal Dwarfs Turn 3
This turn I really got to see some innovative maneuvering. On my left he backed his wavered halfbreed champion out of the way, and then charged my General with his Halfbreed Regiment, landing 4 wounds on me. In the centre his blacksouls continued to advance, as did his Greater Golem. His wavered Grotesques gummed up the works though. But on my right he really surprised me. I was expecting him to charge my wavered scouts, kill them, and then reform to face my shield wall horde. Instead he pivoted and backed up, landing beside my shield wall (well out of charge arc). Then he used his breath attack to finish off my scouts.

Westhaven Turn 3
My shooting went pretty well and I managed to take off his grotesques. It really was death by a thousand cuts, my rifle troops just kept peppering away at it, and I think my cannon managed to hit it for 4-5 wounds as well. His healing was very unlucky, I think he healed 1 wound out of 9 rolls.

On my left my General and halberds troop did a few wounds to the halfbreeds, but not enough to waver them. I sent my mounted ASB over there to start healing up my General.

On my right my shield wall pivoted, setting up a flank attack on the dragon. This time, surely. My spears charged his Greater Obsidian Golem, and I think they did one wound.

In the centre I decided to engage his blacksouls. I knew this was probably a mistake, but I felt that with the grotesques gone, I might have a chance. I did 15 wounds to his blacksouls, but they held steady thanks to an inspiring re-roll.

Turn 4

Abyssal Dwarfs Turn 4
He shot my spears to pieces on my right, hitting them with his dragon fire team, the diadem of dragonkind from his Immortal Guard, and lightning bolt. I had moved my spears out of inspiring range and they popped. This allowed his Greater Golem to get a flank charge on my Steam Tank ._.

His dragon continued to play funny buggers with my shield wall horde, again flying just out of charge arc and this time fire breathing on my wizard. My wizard is a tough little dude though and he only took a couple of wounds so sucked in dragon.

In the centre his golems charged my greatswords and crunched them, his blacksouls charged my knights and did a couple of wounds, disordering them. His halfbreed regiment routed my halberds troop on my left, and his champion slapped a couple more wounds on my General, wavering him. Things were getting dicey.
Westhaven Turn 4
I continued to chase his dragon with my shield wall. I was parked on an objective, so I didn't think it was a ~total~ waste of time. My General was wavered on my left, so I pivoted and backed him up, out of arc of the halfbreed regiment at least. In the centre I double charged his golems with my greatswords and a knights regiment, while I triple charged his blacksouls with the other knights, my spears, and a steam tank in the flank. That was wasteful overkill, I should have sent the tank into his immortal guards.

I took the blacksouls off, but the golems held. Def 6+ is tough hey.

Turn 5

Abyssal Dwarfs Turn 5
Things just started to get ugly now. His halfbreed champion routed my wavered General. His Halfbreed Regiment took out one of my rifle troops, and pivoted to face the rear of my units. His golems crushed my greatswords, his shooters finally routed the wounded knights, his greater golem took out my silly steam tank, and his dragon decided it wanted some of the action too and flanked my spears.

I was expecting Tim's counter, I really was. I did ~not~ expect to lose damn near a third of my army in a single round though.
Westhaven Turn 5
I did what I could. I charged his Immortal Guards, but couldn't pop them in one go. My Shield Wall did their favourite thing and pivoted and sat on an objective.

In a pleasing turn of events my cannon managed to hit his halfbreed regiment for 6 more wounds and they popped so take that.

Turn 6

Abyssal Dwarfs Turn 6
He just mopped up from here. We went to turn seven, by the end all I had left was one standard bearer with 4 wounds, my wizard with 5 wounds, and my shield wall with 6 wounds. 

Result

He held 3 objectives to my contested half of one, 17-3 to him. I never expected to beat Tim, even with his softer list. The dude plays his Dwarfs like a fiddle. But I had hoped to make a better showing of myself. I should have placed my shield wall in the centre, and left the flanks to my more mobile spear regiments. I should have made him engage with his blacksouls instead of charging them. I should have backed the halberds troops on my left with something more substantial than a single General on a Winged Beast.

I did notice how patient he is. He could have moved his cube forward quicker (for dorfs lol), but he calmly waited for me to make mistakes. He did the critical damage to me in Turn 5, instead of trying to get in earlier. I could probably learn from that.

My shooting did pretty well, the 4 troops of rifles are a lot more effective than the single horde.

Any suggestions on how I could have won this game (other than 'roll better') would be much appreciated.

Thanks for reading, Game 2 should be up later this week.

Kings of June Tournament Review

My local FLGS Three D6 runs Kings of War tournaments every two months. I've been attending since I got into KoW in February this year. They are on the small & casual end of the spectrum, and a great introduction to more competitive gaming for players who are used to just playing with friends. Most participants are Canberra locals, but we usually have one or two blokes drive down from Sydney as well.

Game 1 vs Tim's Abyssal Dwarfs

Game 2 vs Tony's Goblins with Orc Allies

Game 3 vs Mark's Elves

Yesterday was a 3 game 2.5k tournament with chess clocks, and we had ~8 players. I ran an MSU Kingdoms of Men list, won best painted (thanks lads) and came dead last. I'll write up reports of each of my 3 matches later, will probably take me a week or so.

The results:

Tied for first were Tim N Abyssal Dwarfs & Rowan K - Undead
Dave C - Brotherhood
Tom N - Twilight Kin
Tony W - Goblins w Orc allies
Matt C - Forces of Nature
Mark W - Elves
Tas S - Kingdoms of Men

Not particularly surprising to see Tim, Roland, and Dave at the top.

My List:

The Grand Company of Westhaven


2500 - Kingdoms of Men - The Grand Company of Westhaven

Infantry


  • Shield Wall Horde 
  • Foot Guard Regiment (with two-handed weapons)
  • Spear Phalanx Regiment x 2
  • Pole-Arms Block Troops x 2
  • Arquebusiers Troop x 4

Cavalry


  • Knights Regiment x 2
  • Mounted Scouts Troop with carbines 

Artillery


  • Cannon
  • Siege Engine 

Support 


  • Army Standard Bearer, Mounted, with Healing Charm
  • Army Standard Bearer, with The Boomstick
  • General on a Winged Beast
  • Hero, Mounted, with Blade of Slashing
  • Wizard, with Lightning Bolt and Bane Chant, and Inspiring Talisman 
  • Beast of War with Light Ballista

While I had a fun day and all none of my games were close in the end, so that's a bit concerning. I'm not sure whether the main problem is my list or my generalship. I really hope it's my generalship because painting in my literally freezing garage of an evening sucks right now.

Anyway, actual battle reports to come.

Friday, 10 June 2016

My Upcoming Tournament Lists

I have two tournaments upcoming. The first is Kings of June, 25 June. This is a once-every-two-month tournament hosted by 3D6 staff. Usually gets about 10 entrants.  2500 points, no comp. The second is the Sydney Game Championships, 30-31 July. 2k points, no comp as of yet but I'm anticipating that the CoK pack will be used.

I've decided to run two similar lists for both tournaments, following my MSU philosophy. My models (WHFB Empire) suit either Kingdoms of Men or League of Rhordia. I've spoken a little bit about the differences here. I'll talk about my list philosophy (such as it is) in a later post.

The Lists:

2500 - Kingdoms of Men - The Grand Company of Westhaven

Infantry

Shield Wall Horde
Foot Guard Regiment (with two-handed weapons)
Spear Phalanx Regiment x 2
Pole-Arms Block Troops x 2
Arquebusiers Troop x 4

Cavalry

Knights Regiment x 2
Mounted Scouts Troop with carbines

Artillery

Cannon
Siege Engine 
Beast of War with Light Ballista

Heroes 

Army Standard Bearer, Mounted, with Healing Charm
Army Standard Bearer, with The Boomstick
General on a Winged Beast
Hero, Mounted, with Blade of Slashing
Wizard, with Lightning Bolt and Bane Chant, and Inspiring Talisman 

2000 - League of Rhordia - The Company of Prinz Johannes of Westhaven

Infantry

City Spear Militia Regiment x 2
House Guard Regiment
City Militia Troop x 2
Musket Block Troop x 4

Cavalry

Household Knights Regiment x 2
Halfling Iron Beast

Heroes 

Baron, Mounted, with Mace of Crushing
Duke on Ancient Winged Aralez
Halfling Sorcerer with Inspiring Talisman.

Sunday, 15 May 2016

Tournament Report, Kings of Dave 4


I usually run my army (mostly old WHFB Empire models) as Kingdoms of Men, but for a tournament over the weekend I decided to run them as League with KoM allies. It was a 2500 point no comp 4-game swiss tournament in Canberra, Australia.
My List:

KoM Allies:

  • Horde Arquebusiers with Brew of Keen Eyeness
  • Troop Mounted Scouts with Mace of Crushing
  • Cannon
  • Hero, Mounted with Blade of Slashing
League:
  • Horde City Spear Militia
  • Regiment House Guard
  • Regiment City Militia
  • Regiment Household Knights with +pathfinder
  • Regiment Household Knights with +nimble
  • Halfling Iron Beast
  • Halfling Howitzer
  • Army Standard Bearer, mounted, with healing charm
  • Halfling Sorcerer with wings of honeymaze
  • Halfling sorcerer with inspiring talisman
  • Duke on Ancient Winged Aralez + ensorcelled armour
  • Duke on Ancient Winged Aralez + brew of haste

Like I said, I usually run KoM, but I wanted to try out three changes in particular.
I wanted to see if the Halfling Iron Beast was more useful than a KoM Beast of War.
I wanted to see how annoying two windblast (7) casters could be, over bane chant wizards.
I wanted to see if the Duke on Ancient Winged Alarez' were worth the extra points over the KoM General on a Winged Beast.

My opponents were:
Game1: A very punchy Orc army, with some goblin chaff and war machines allied in. (Kill, big Loss) I deployed in a pretty tight 'castle' formation, around my shooters on a hill. My shooting did ok, but he was into me by turn 3, and who knew that getting caught in melee with orcs was a bad idea? I should have deployed out wider I think. He used terrain and goblin chaff very well to protect his flanks, and once his morax regiments got stuck in it was all over. This was one game where I really wished my Halfling Iron Beast was a Beast of War. The Orcs chewed through it quickly anyway, and despite the high number of attacks, hitting on 5s just sucks.

Game 2: A very shooty elf army, with some FoN allied earth elementals (Kill & Pillage, Win). If my iron beast was a dud last match, he was the star of this one. My opponent had two sea-guard hordes, and they just could not get through my Iron Beast's armour in time. My heavy artillery took care of his earth elementals, and my 2 Dukes were able to keep his dragon lord contained.

Game 3: A pretty standard undead army. (Loot, Draw) This was a very cheeky draw for me. By the end of the game I had killed ~900 points of his, while he had killed ~2100 points of mine. I only had the regiment of House Guard and the Iron Beast left. Unfortunately for him my House Guard had one of the loot tokens, and my Iron Beast was screening the other one (if I had played my last 2 turns better I could have actually picked it up and snuck out with a win). Lesson here is to always play the objectives hey. Also shambling legions and hordes are slow af to pick up objectives hey.

Game 4: a ~very~ shooty Twilight Kin army. (Dominate, Loss) The most frustrating game by far. He managed to waver a bunch of my units through a combination of his bolt throwers and perfect nerve rolls. Any lower and I would have held steady, any higher and I would have got the inspiring re roll and almost certainly held steady. I managed to desperately cram a lot of stuff in the centre, and windblast his stuff out. If the game had ended turn 6 it would have been a draw, but it went to turn 7, and he was able to kill one of my Dukes in the scoring zone, and push his units deep into the zone (so I would have needed perfect rolls to blast them out again).

So, would I have been better running KoM over LoR? As you'd expect, some games yes, some games no. The windblast sorcerers were very terrain and scenario dependent. We played 2 kill scenarios in this 4 game tournament, but if we had played more objective type ones, they would have been more useful. I also played 2 games on a board that had no difficult terrain (to push things into), so I'm not sure I can draw a line under this experiment yet.

The Iron Beast was tough, and hung around for 3 out of 4 games. I was disappointing in combat, but at least it made it into combat hey. My Beast of War is usually shot off the table before it can get in. Iron Beast was excellent against low CS/Piercing opponents, the Beast of War would be much more useful against high CS opponents. So it depends on your local meta hey.

The Dukes were pretty cool. I only used their heal spells a couple of times over the 4 games, but the iron resolve was awesome. You pay 35 extra points (over a General on a Winged Beast) for 1 extra attack, TC 1, Heal (4), and Iron Resolve. I think that's a good deal, and it was handy having a couple of points dense units to help me score on dominate. But if you're playing in a comped system (disordered flyers lose fly, flyers score 50% on invade/dominate), I think the General on a Winged Beast would be better.

Monday, 29 February 2016

Kings of February Tournament Report

Kings of February Tournament Report

Tas Stacey

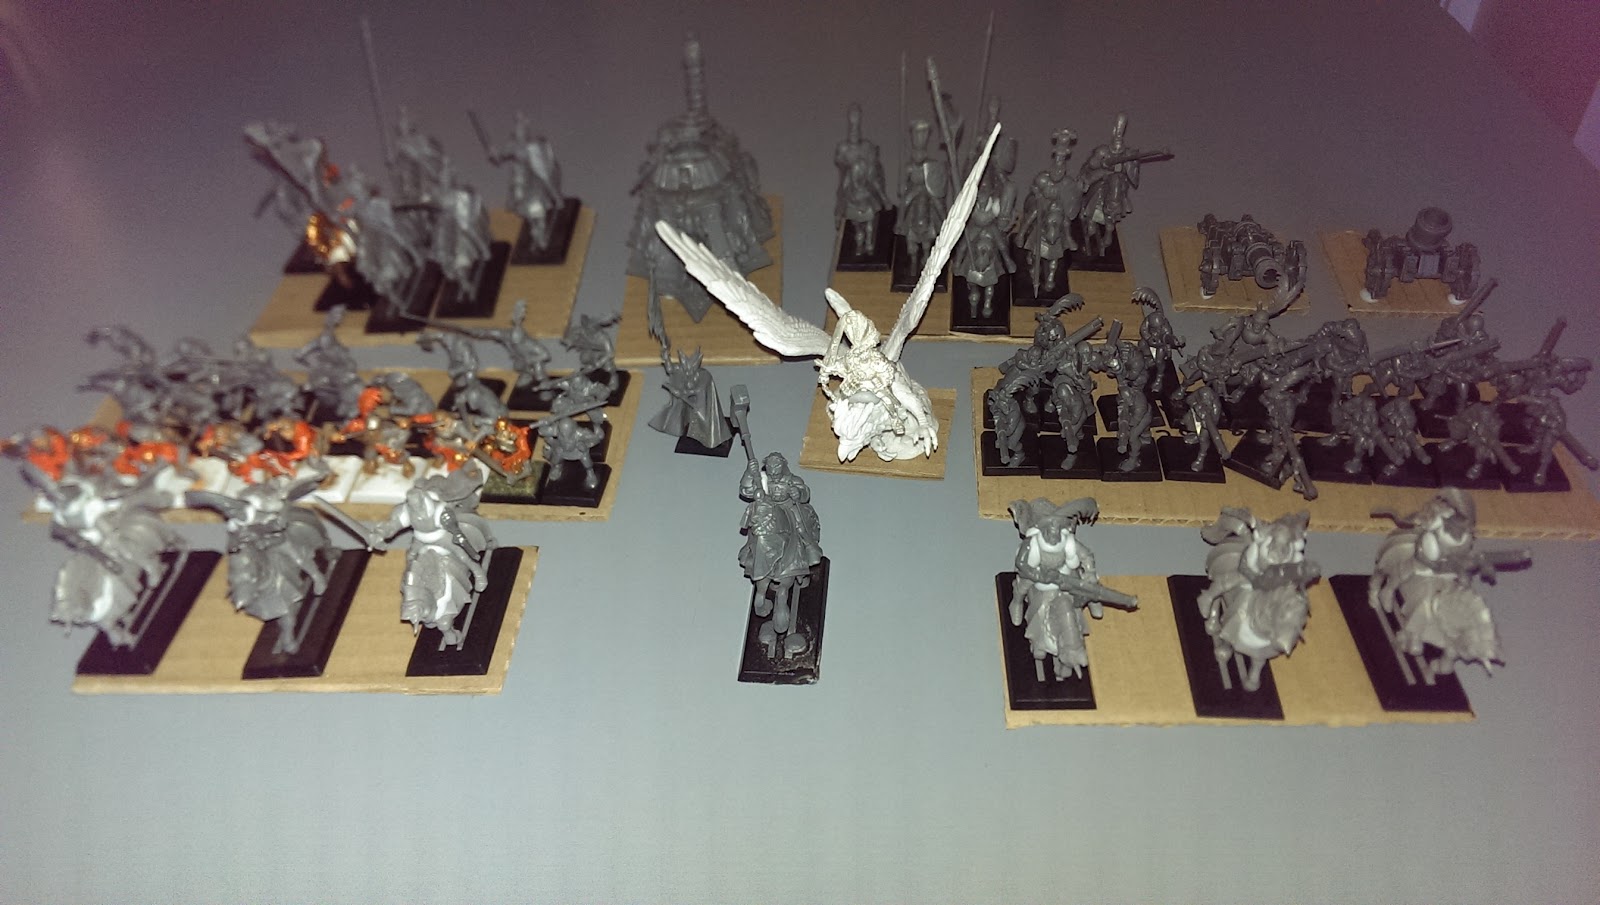
The Westhaven Militia in all their unpainted glory. I’ve started painting the Foot Guard Horde and the Knights, but it’s going to take a while to finish eh. Hopefully I’ll get it all done in the next 3-4 months.


Back Row: Knights Regiment, Steam Tank (counts as Beast of War with light ballista), Knights Regiment, Cannon, Siege Artillery.
Middle Row: Foot Guard Horde (with Brew of Strength), Wizard (with Bane Chant), General on a Winged Beast (with Ensorcelled Armour), Arquebusier Horde (with Brew of Keen-eyeness).
Front Row: Mounted Scout Troop (with carbines), The Captain (mounted), Mounted Scout Troop (with carbines)

Background

This was my first Kings of War tournament, in fact my first wargaming tournament ever. I’ve been a gamer for close to two decades now (mostly TRPGs like Dungeons & Dragons, MtG, boardgames, etc). I’ve always been interested in miniature wargaming, but the barriers to entry in terms of monetary cost and time were just too high to justify for me.


I got into KoW after a mate (Oldy) introduced it to me at Cancon. He convinced me (it wasn’t very hard tbh) that this game was The One. I managed to pick up an old GW Empire army secondhand, based it up for KoW, and played 3 games over February. The tournament was held at Three D6 in Tuggeranong, a great FLGS where I play KoW on thursday nights. We had 10 people in the tournament, 2000 points, 3 rounds Swiss.


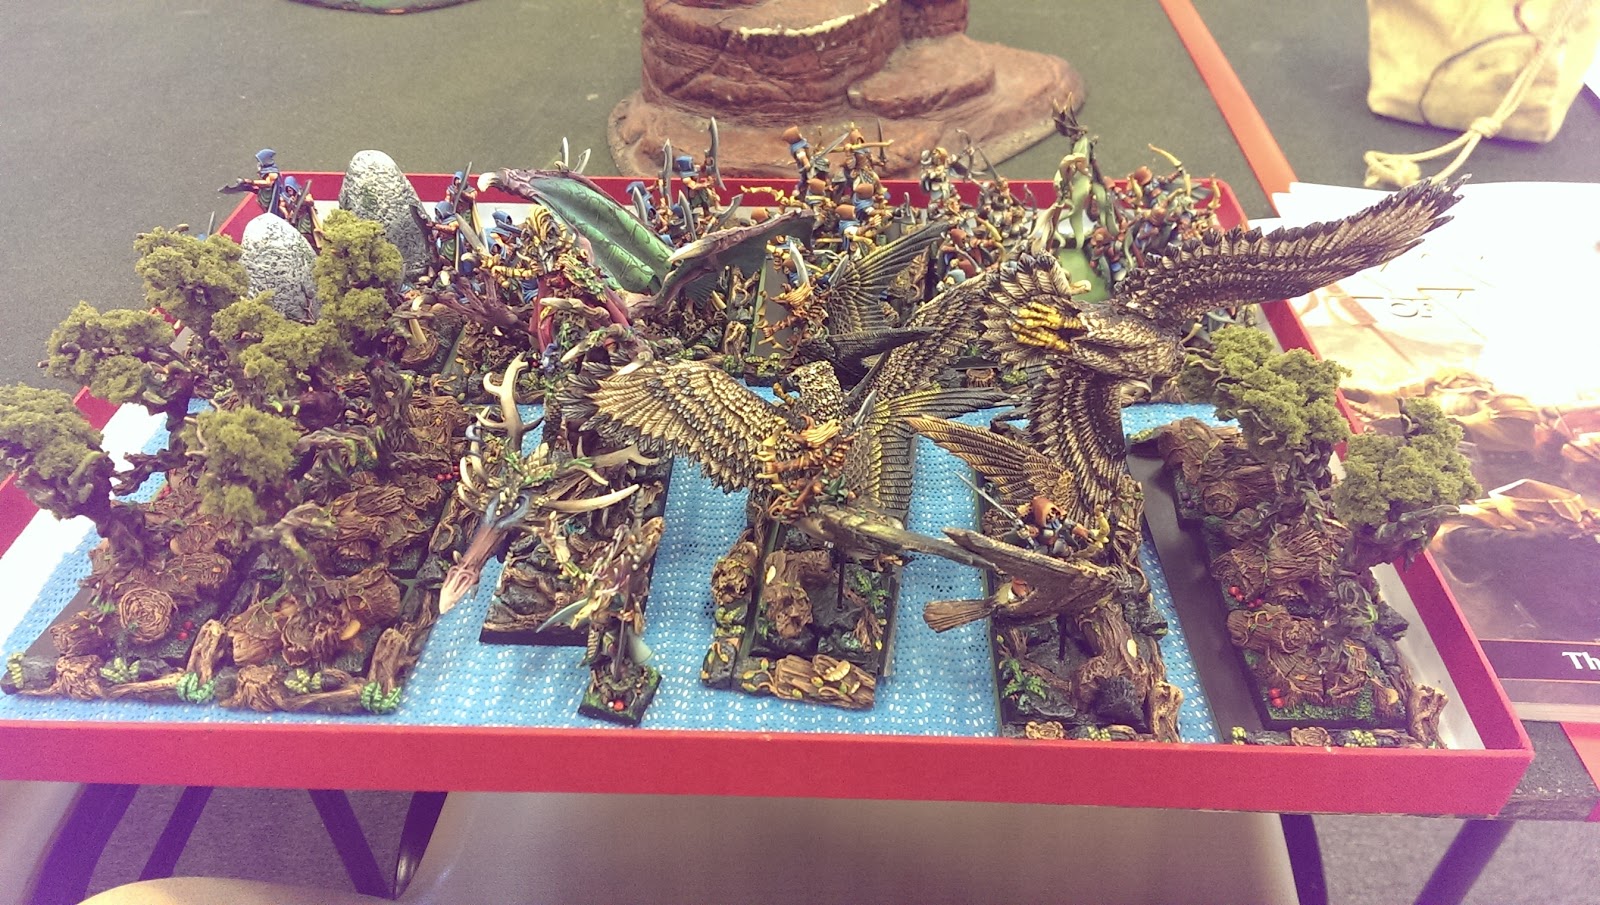
There were some gorgeously painted armies there:


I voted for these wood elves as best painted.


Game 1

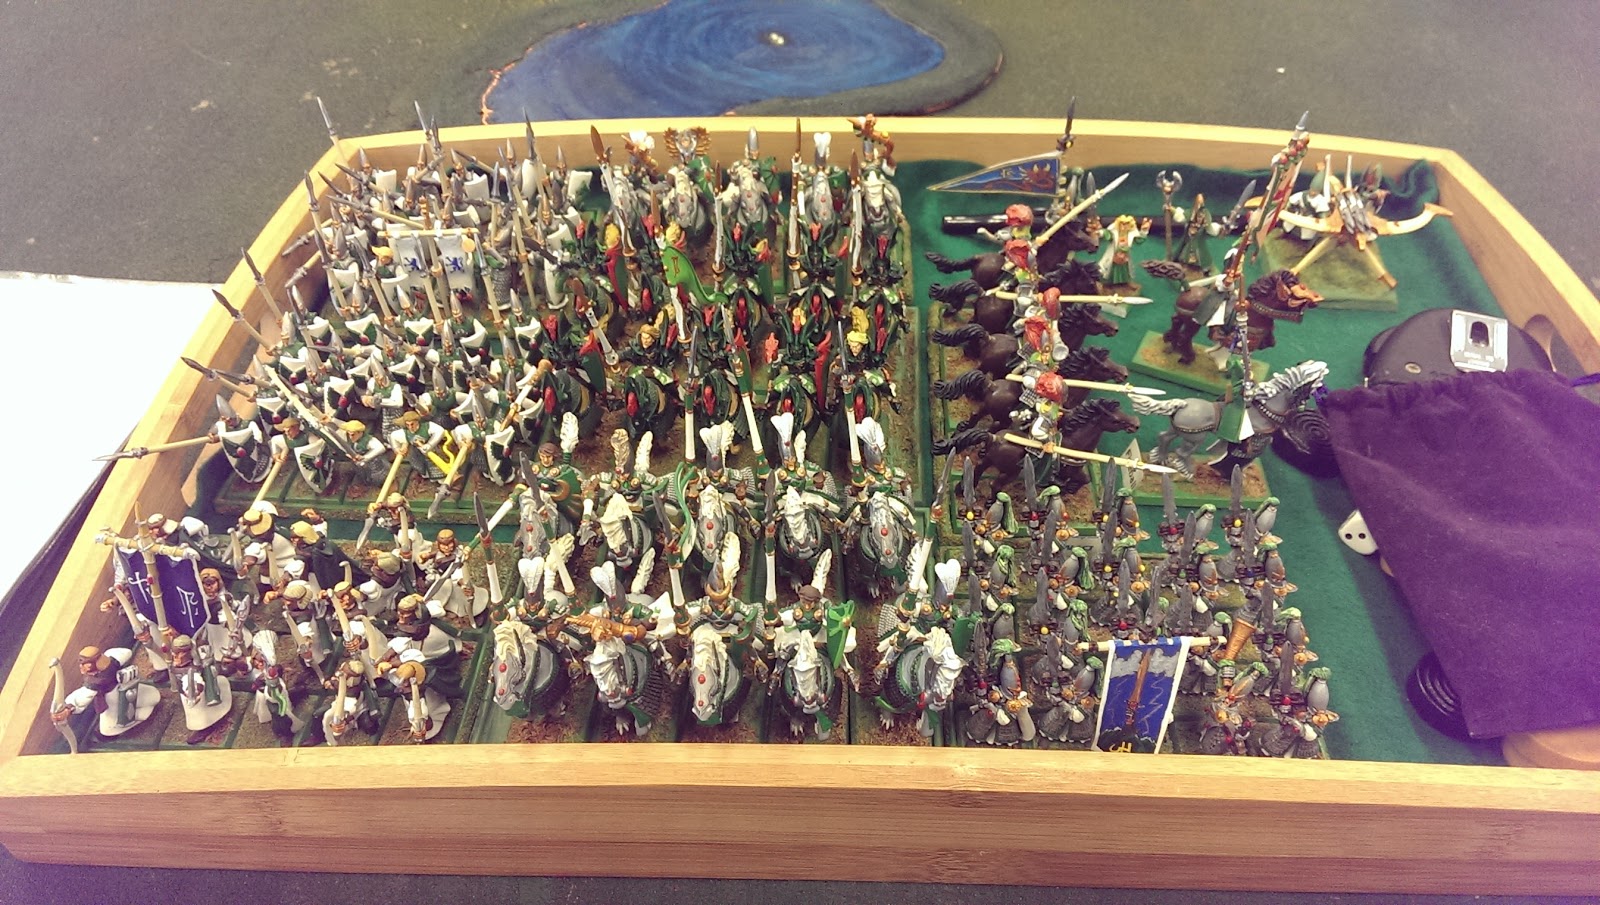
I was up against a guy called Mark and his elves. I forgot to take a picture of his list, but it went something like:
  • Silverbreeze Cav Troop x 2
  • Sea Guard Horde
  • Palace Guard Troop
  • Stormwind Cav Regiment
  • Dragon Kindred Lord x 2
  • Drakon Rider Horde
  • Mage


We were playing the Invade! scenario, and deployed like this:


I didn’t really have a realistic plan at this point. I should have pointed all my war machines and rifles at the drakon riders and dragons, but instead I focused on the Sea Guard (a hybrid archer/spear unit) in the centre. I sort of thought I could roll his Silverbreeze cav on my left, crunch the centre with my Steam Tank, and then pivot around to take the rest of his stuff. Yeah. I don’t know why I thought my Movement 5 & 7 units could outmaneuver his Movement 10 flyers, let's just say I was optimistic.


My first turn went great I thought, I wavered one of his Silverbreeze Cav Troops, and routed his Stormwind Cav Regiment. I had my General on a Griffon with a defended flank, and my Foot Guard Horde ready to charge across the centre line. The situation at the end of my first turn looked like this:


But this was where I made a crucial mistake. I held my knight regiment on my right flank back. The idea was to use them as a second line of defence, charging anything that tried to flank or rear charge my General or Foot Guard Horde.


Instead what happened was my knights in the back corner were charged by both his Dragon and his Drakon Rider Horde. Together they routed my Knights in one turn, and then did a 180 pivot. All of a sudden I had two massive units with a rear charge on half of my army. And his other dragon charged my Arquebusier Horde, disrupting them. I was cooked mate.


I fought on, but caught between his Sea Guard Phalanx at the front and 2 dragons + Drakon Riders behind, Mark just picked me apart. I got my Beast of War, one Mounted Scouts Troop and The Captain into the scoring zone, vs his Sea Guard Horde, 2 Dragons & Drakon Riders. 17 - 3 loss.


It was a fun match, and Mark got my overall vote for sportsmanship. He helped me quite a bit with the rules, and was a dude to play against. I still don’t know how I’m supposed to deal with units like Dragons, Elohi, Drakon Riders etc (with my Kingdoms of Men army at least). Certainly not 3 of them at once. I guess if I engaged one with my Beast of War, tagged the other with my war machines and rifles simultaneously, and threw chaff at the third, I ~might~ be able to take one out. But that seems like a real long shot to be honest.

Game 2

This game was Dominate!, against Tony’s Ogres.


Tony’s list was something like:
  • Berserker Braves Regiment
  • Berserker Braves Horde
  • Bomers Horde x 3
  • Warlock x 4
  • Red Goblin Blaster x 2
  • Giant


This one was going to be an uphill struggle for me right from the get go:


In the Dominate! scenario, you only score points for units that are completely within a 12” radius circle in the very centre of the board. But as you can see, there was a piece of unpassable terrain right in the centre, taking up like half of the scoring zone. Plus a couple of pieces of unpassable terrain just outside the scoring zone. It was going to be extremely difficult for me to fit my infantry hordes into there. Still, I gave it a shot.


I sent a Regiment of Knights and a Troop of Scouts to tackle his Giant on my left flank. I sent my other Scout Troop to try and slow down his two Goblin Blaster carts on the right, and sort of moved everything else up the middle, trying to crowd out as much of the scoring zone as possible.


The giant tore through my knights and scouts. My Steam Tank and General got into it in the middle, and took out a few units. But his 4 warlocks had 48 Fireball rolls between them, which was just a fkn devastating thing to try and deal with at close range.


By the end I had my Beast of War, Captain, and Wizard in the scoring zone, vs all his warlocks, one of his Boomers, and both of his Berserker Braves units. Another 17 -3 loss.

Game 3

After lunch it was time for the last game, against Luke (? I think, I was pretty saturated with new names by this point) and his Empire of Dust army.


His list (excluding magic items) was:
  • Skeleton Crossbowmen Regiment x 2
  • Mummies Troop x 2
  • Enslaved Guardians Regiment x 2
  • Swarm Regiment
  • Skeleton Cavalry Troop x 2
  • Bone Giant
  • Reanimated Behemoth
  • Pharaoh x 2


We played the Pillage! scenario. If the terrain was all against me in Game 2, it was all in my favour Game 3.


We had to fight to control those 6 green circle objectives, and there was a nice big killing field right in the middle for my artillery and rifles to cover.


I won the roll to go first, moved up and took the high ground, and my shooters just did their thing. Basically everything worked for me this game. My mounted scouts were able to force nerve tests with their carbines, my war machines pummelled his Behemoth and Giant, I got units into his two crossbow units by turn 2, while my Foot Guard horde and Steam Tank just marched up the centre.


I was able to replicate the move that sunk me in Game 1, when my Knights regiments on both flanks were able to penetrate deep, rout a unit, and then reform facing the flanks or rear of the bulk of his army.


And that was pretty much it. His Pharaohs lasted until the end (man they are practically impossible to kill. Like for reals), but the rest of his units were routed, and I controlled all 6 objective markers. 20 - 0 win for me.

I felt bad for Luke, his list was just not built for this scenario and terrain. Because we had to be so spread out to compete for so many objectives, he wasn’t able to pull off any flank charge surge shenanigans. And his most durable units (the Pharaohs) don’t count when it comes to controlling objectives (because they are individuals). If we were playing Loot! or Dominate!, he would have had a much easier time I think.

Conclusion

I finished the tournament 7th out of 10. Really happy with that result for my first competitive outing. I used my Flying General, Mounted Scouts, and Steam Tank much better than I have in my first few games. My rifle horde hits like a truck, but I’m thinking about swapping the +1 to hit magic item for the +12” range one. It is just too hard to get them to a position where they can be effective without being disrupted so quickly by flyers. I would also like to squeeze Scrying Gem back into my list, and maybe beef up my knights with pathfinder, crushing strength, or extra speed.


But overall I’m actually pretty happy with my list. I just need to get a bit more experience with dealing with them pesky flyers and I’ll be laughing I reckon. Kings of War is a great game, and Three D6 throws a great little tournament. I’ll definitely be at the next one!