Showing posts with label Westhaven. Show all posts

Saturday, 18 June 2016

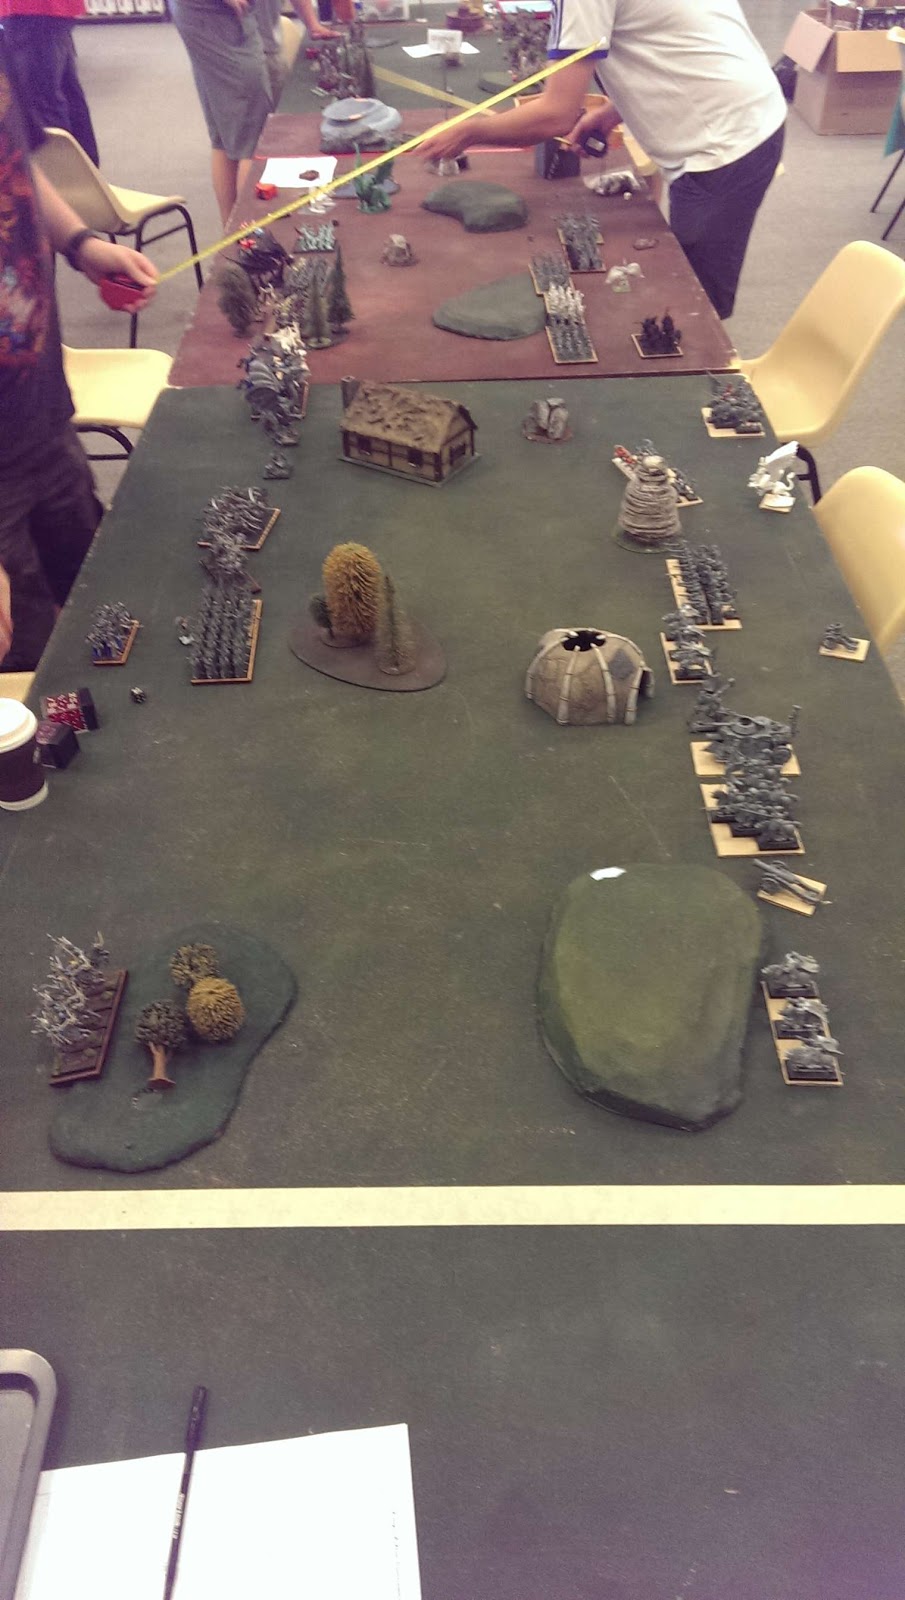
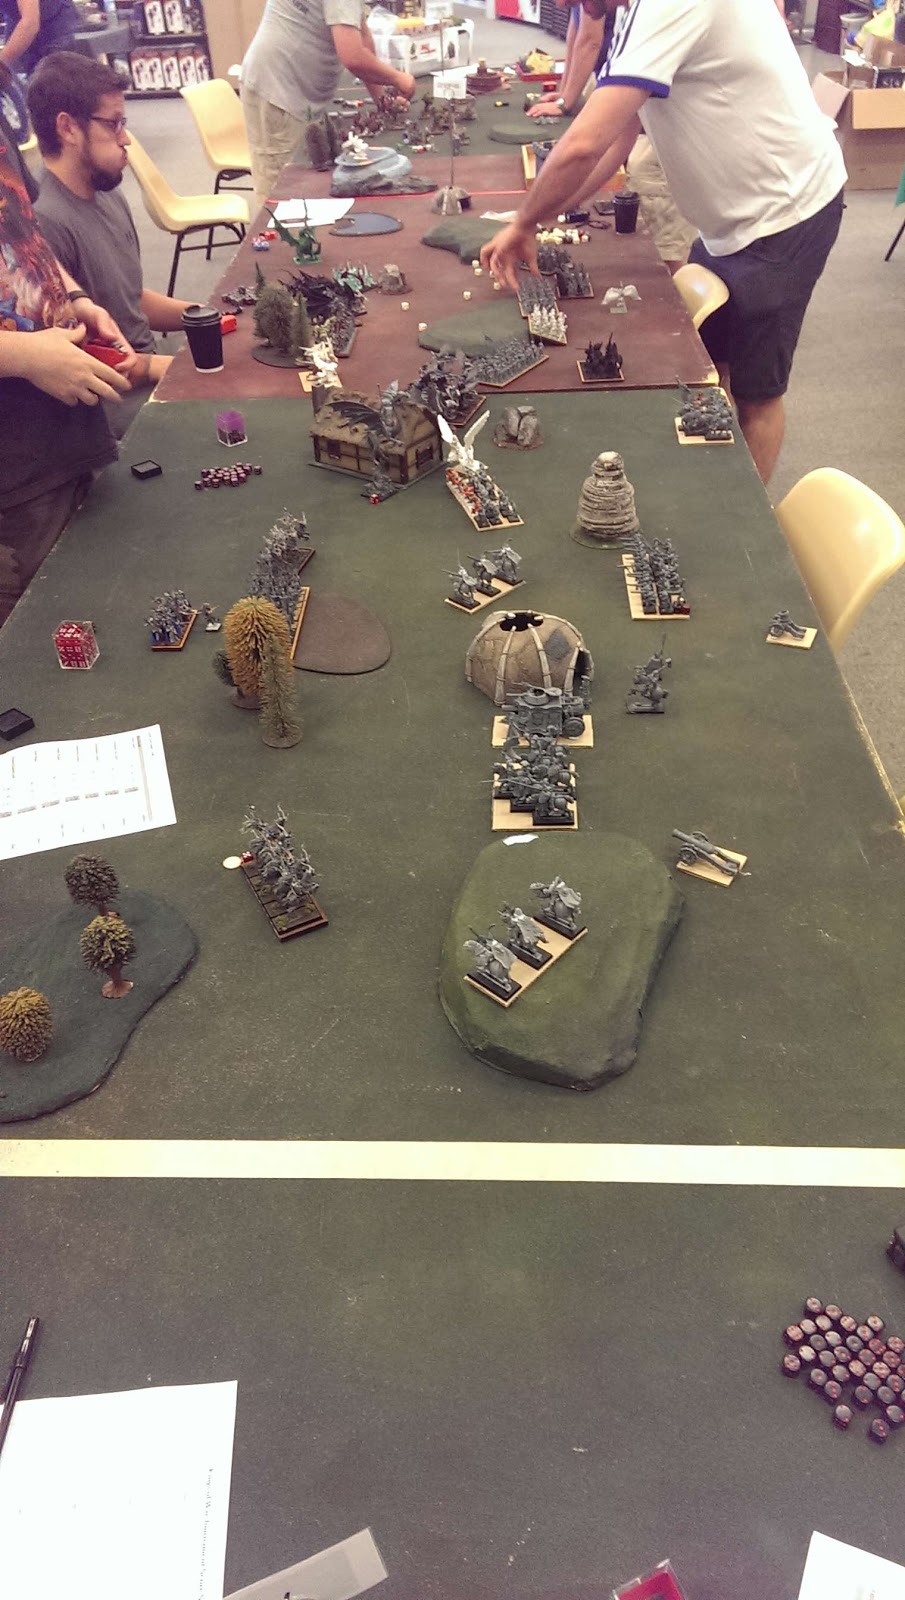
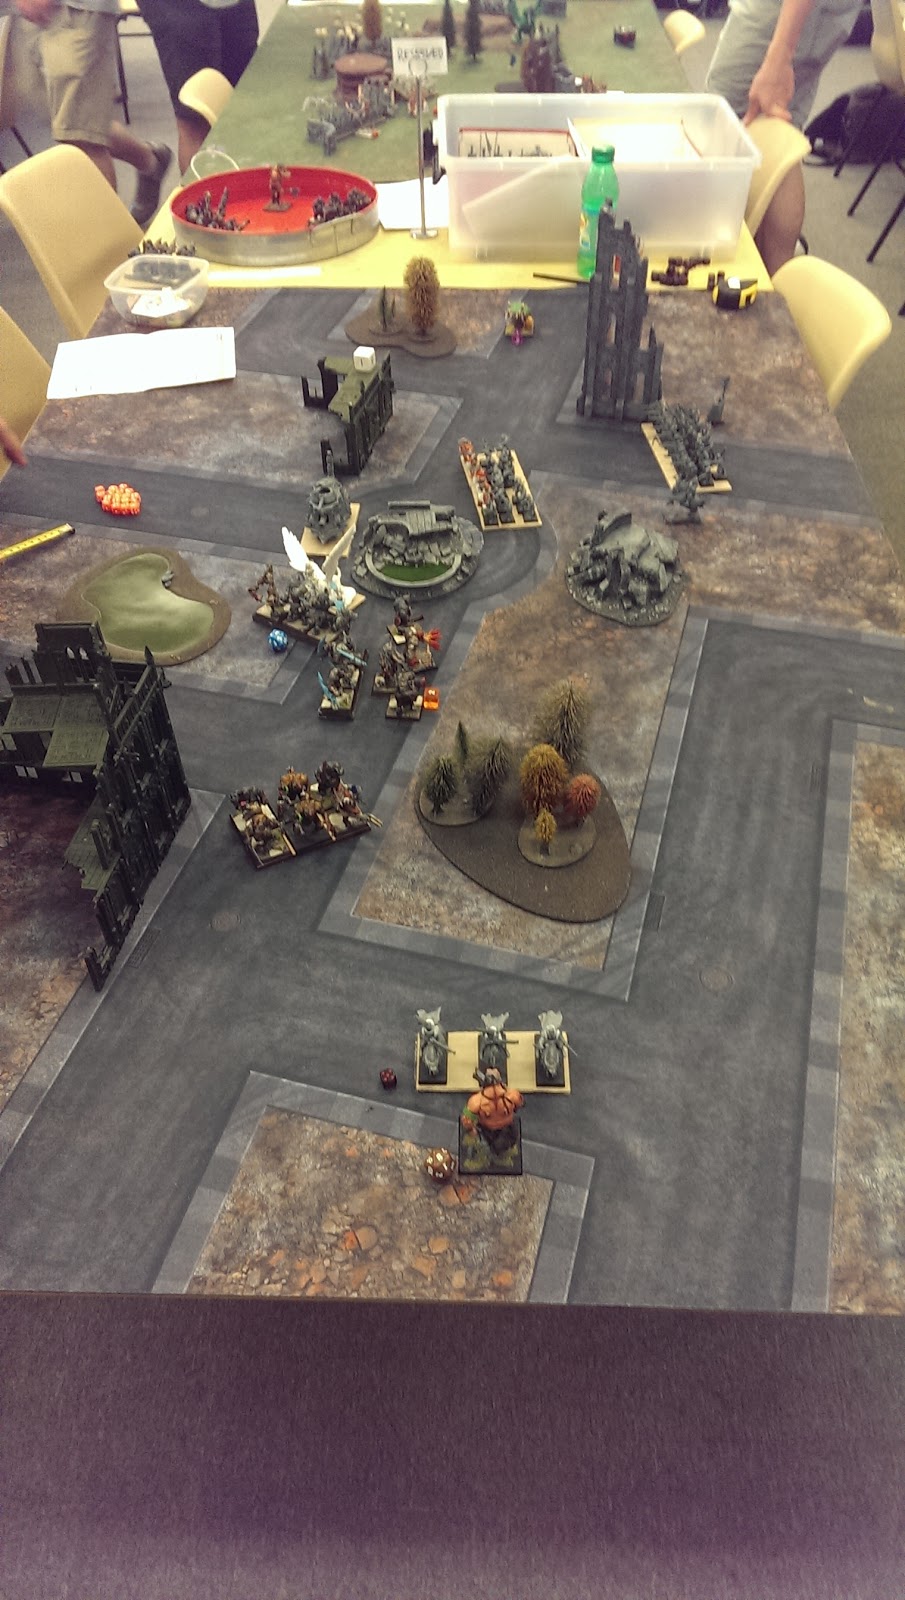
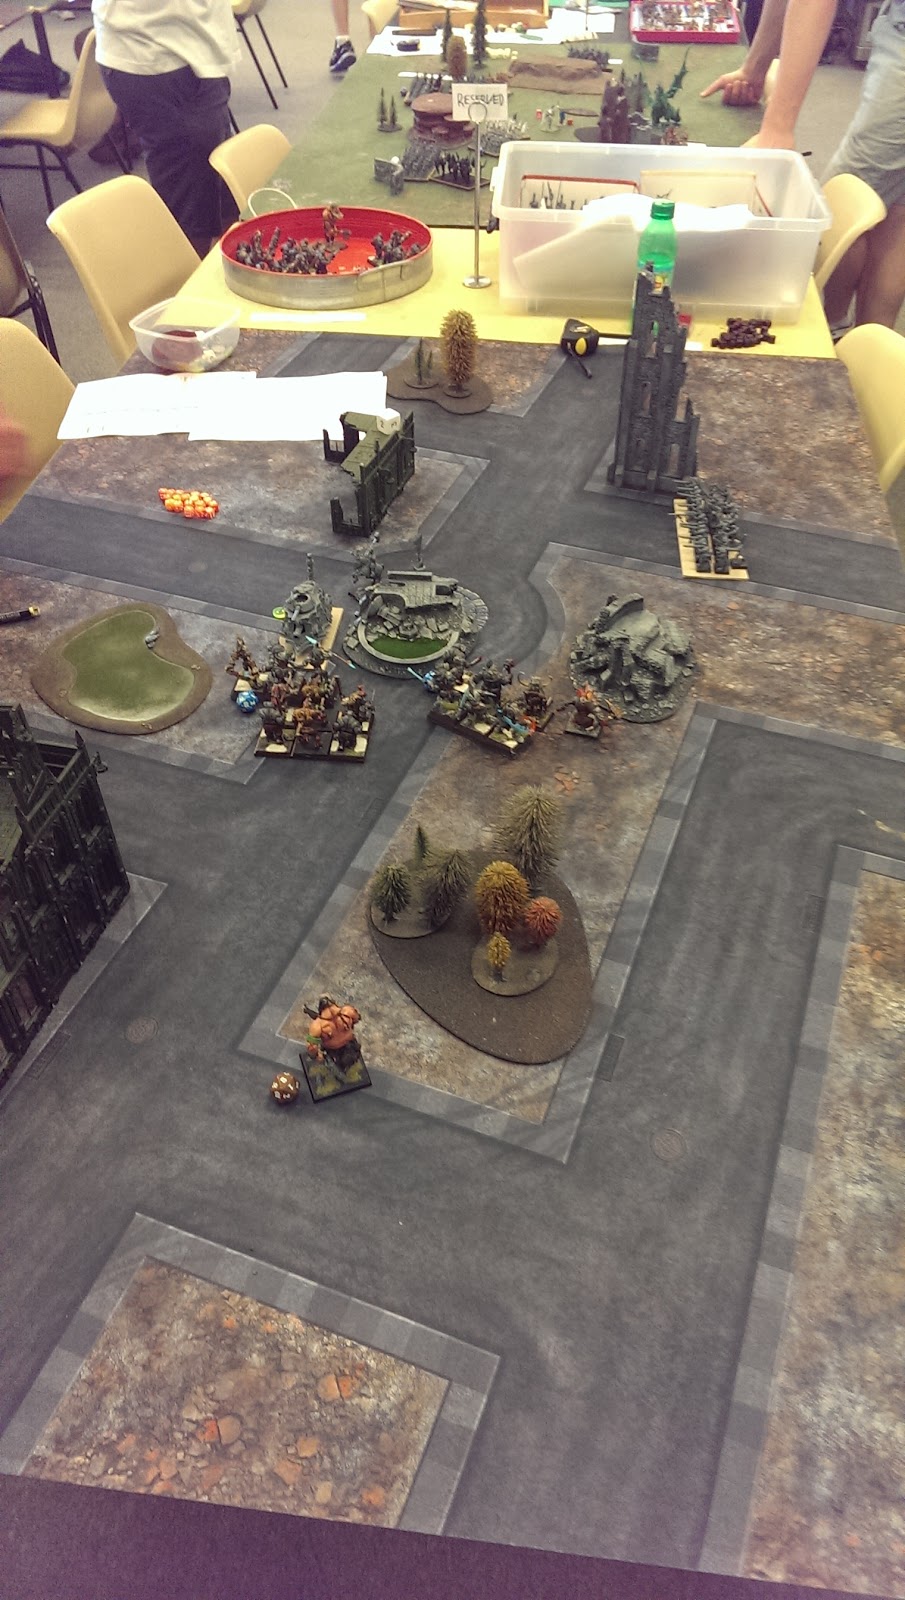
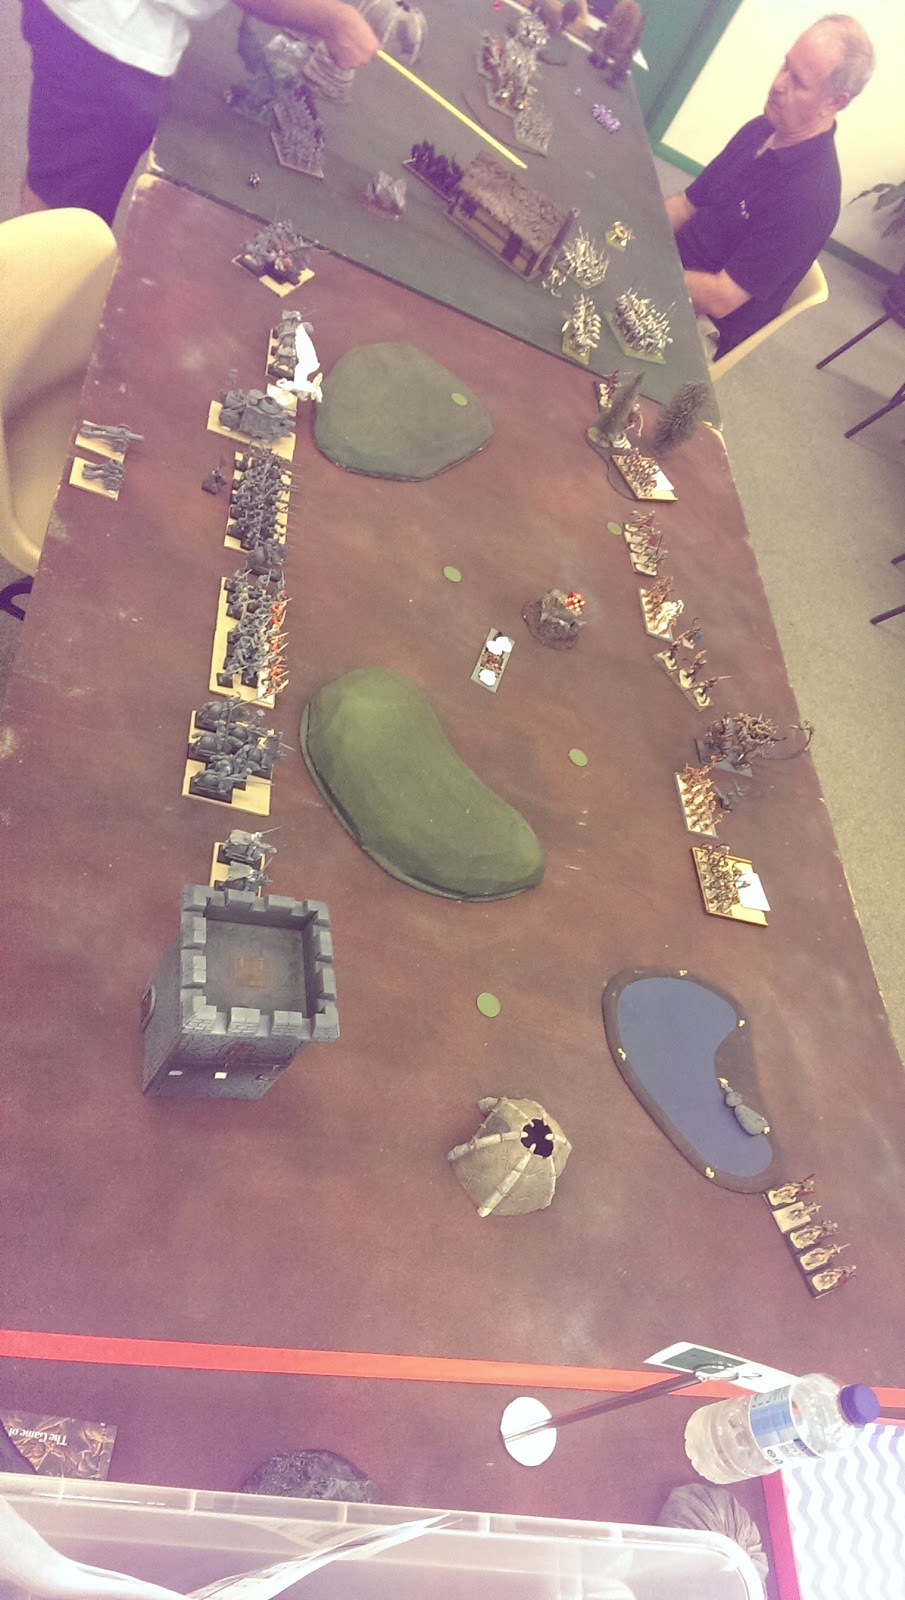
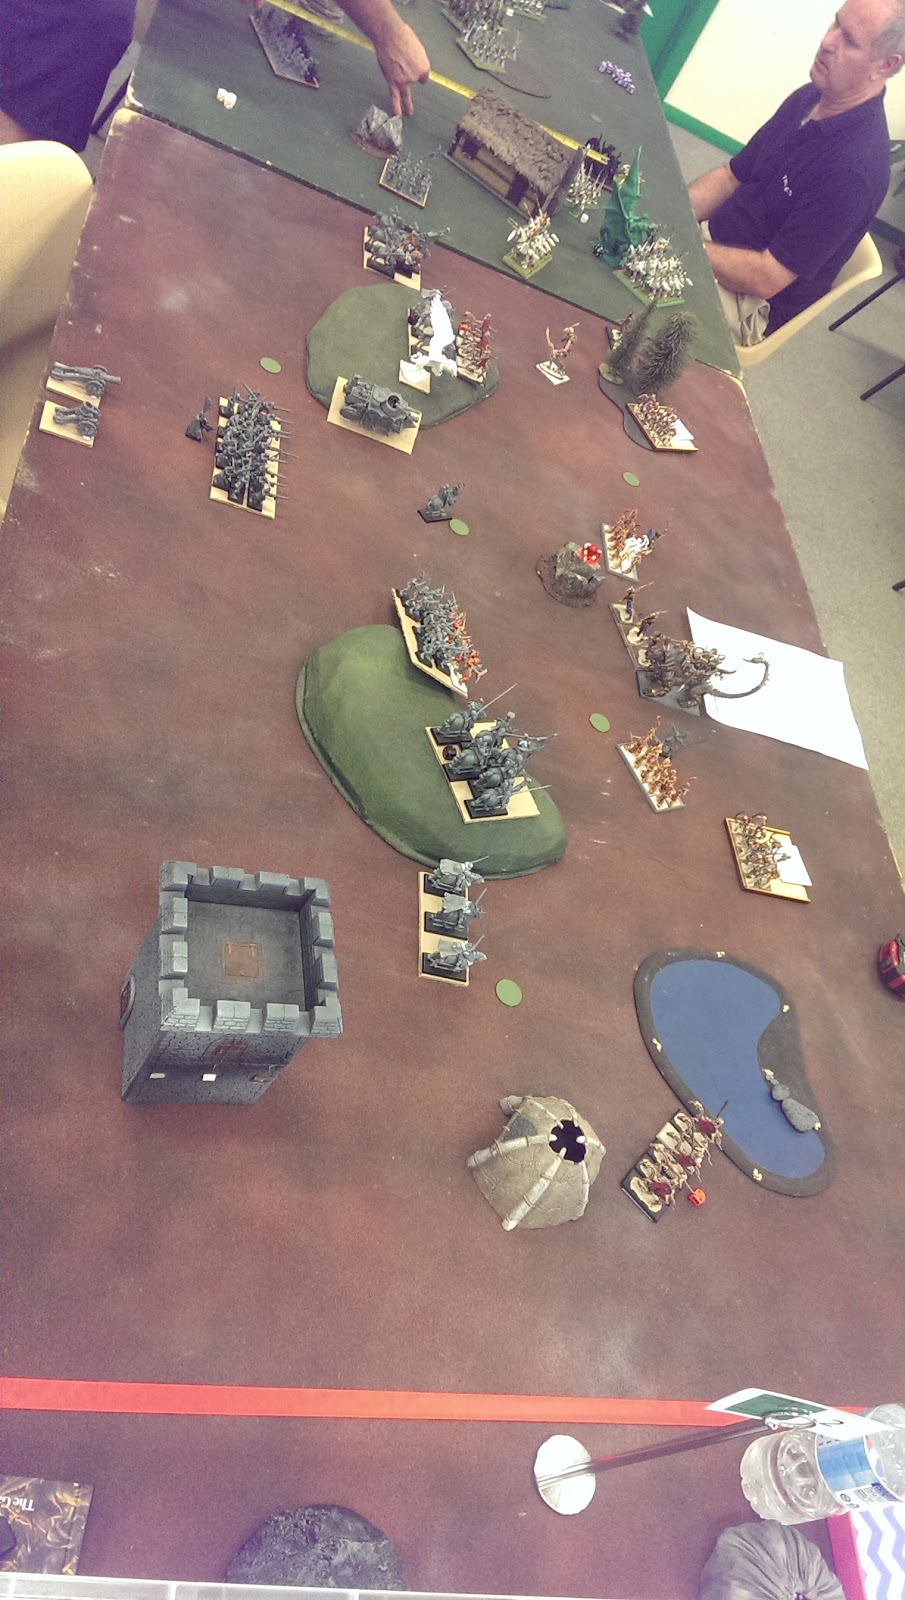
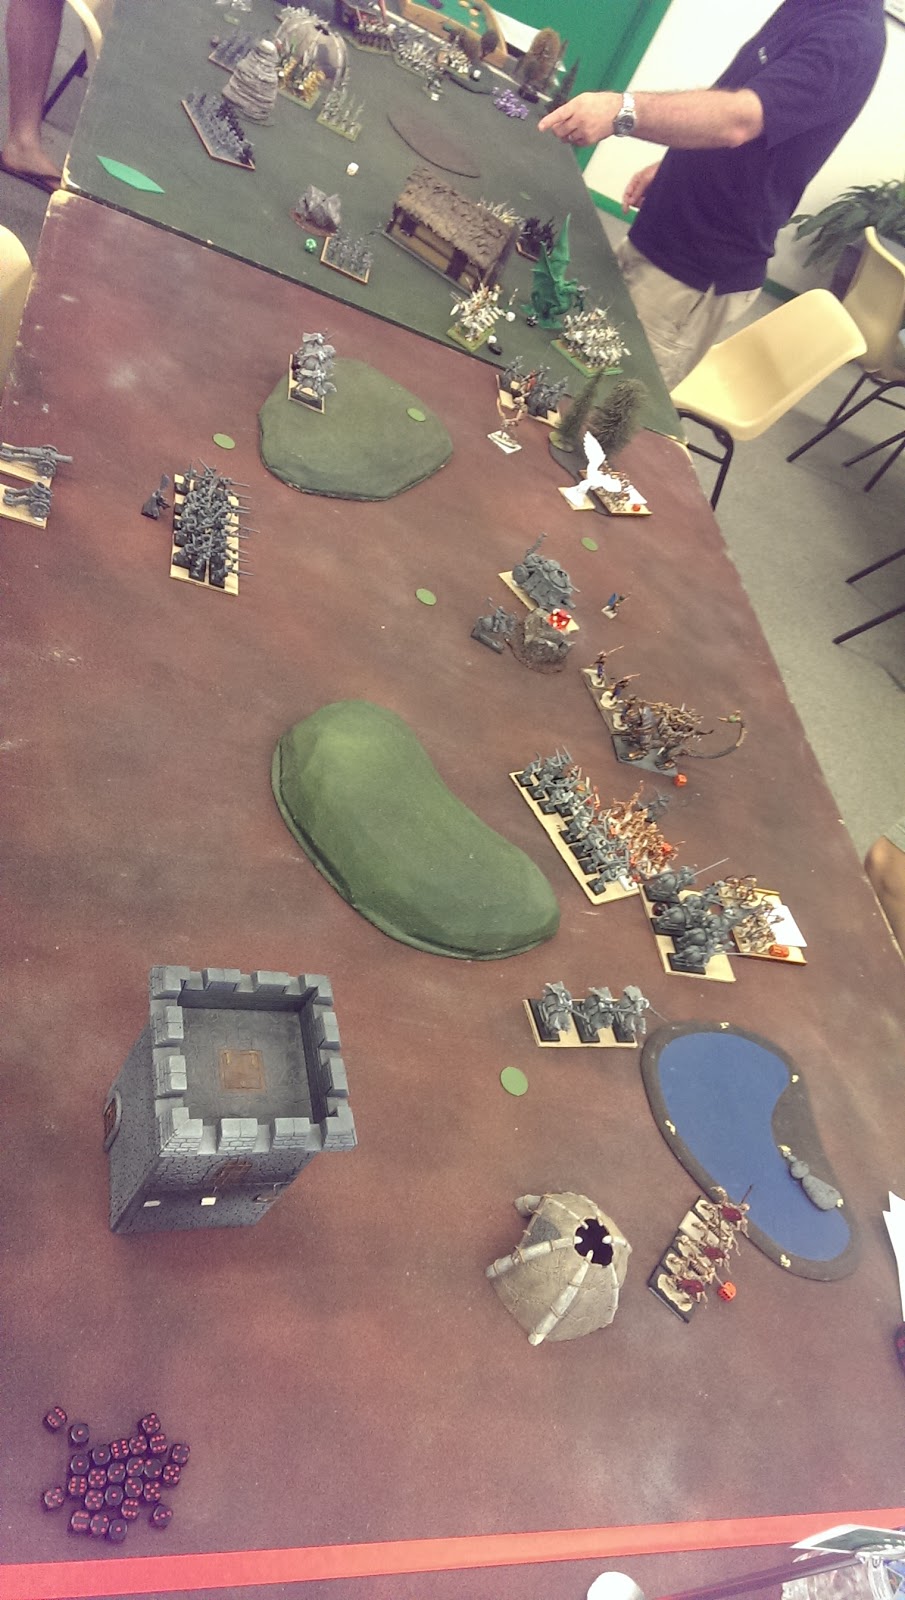
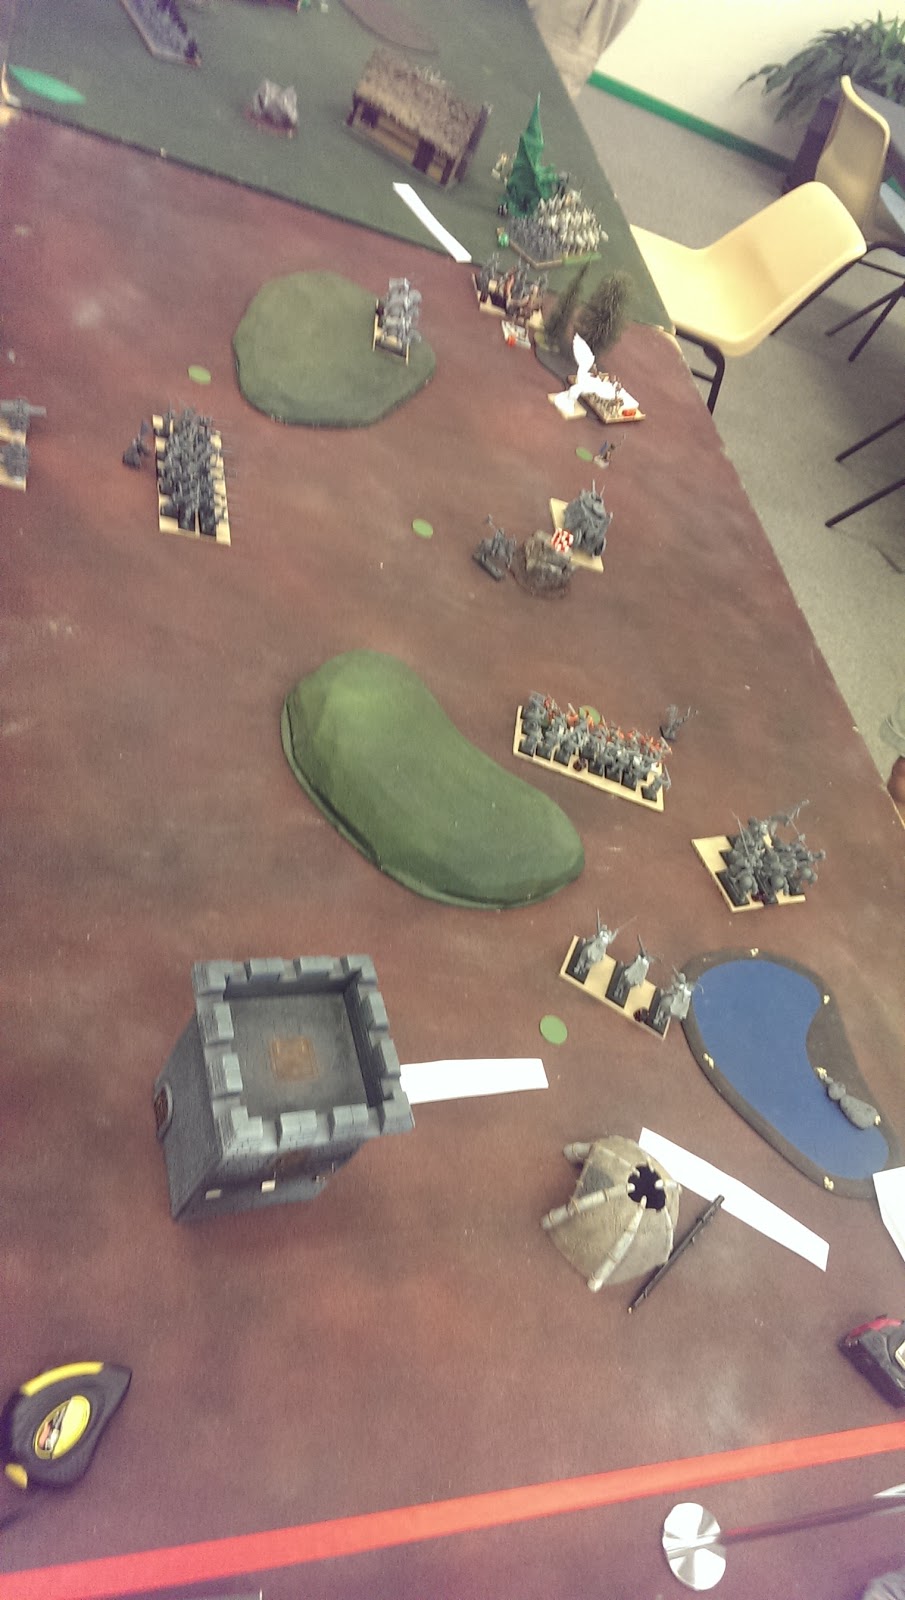
Battle Report - 2k Pillage! League of Rhordia vs Abyssal Dwarfs

I played Christo again this week, this time at 2k.

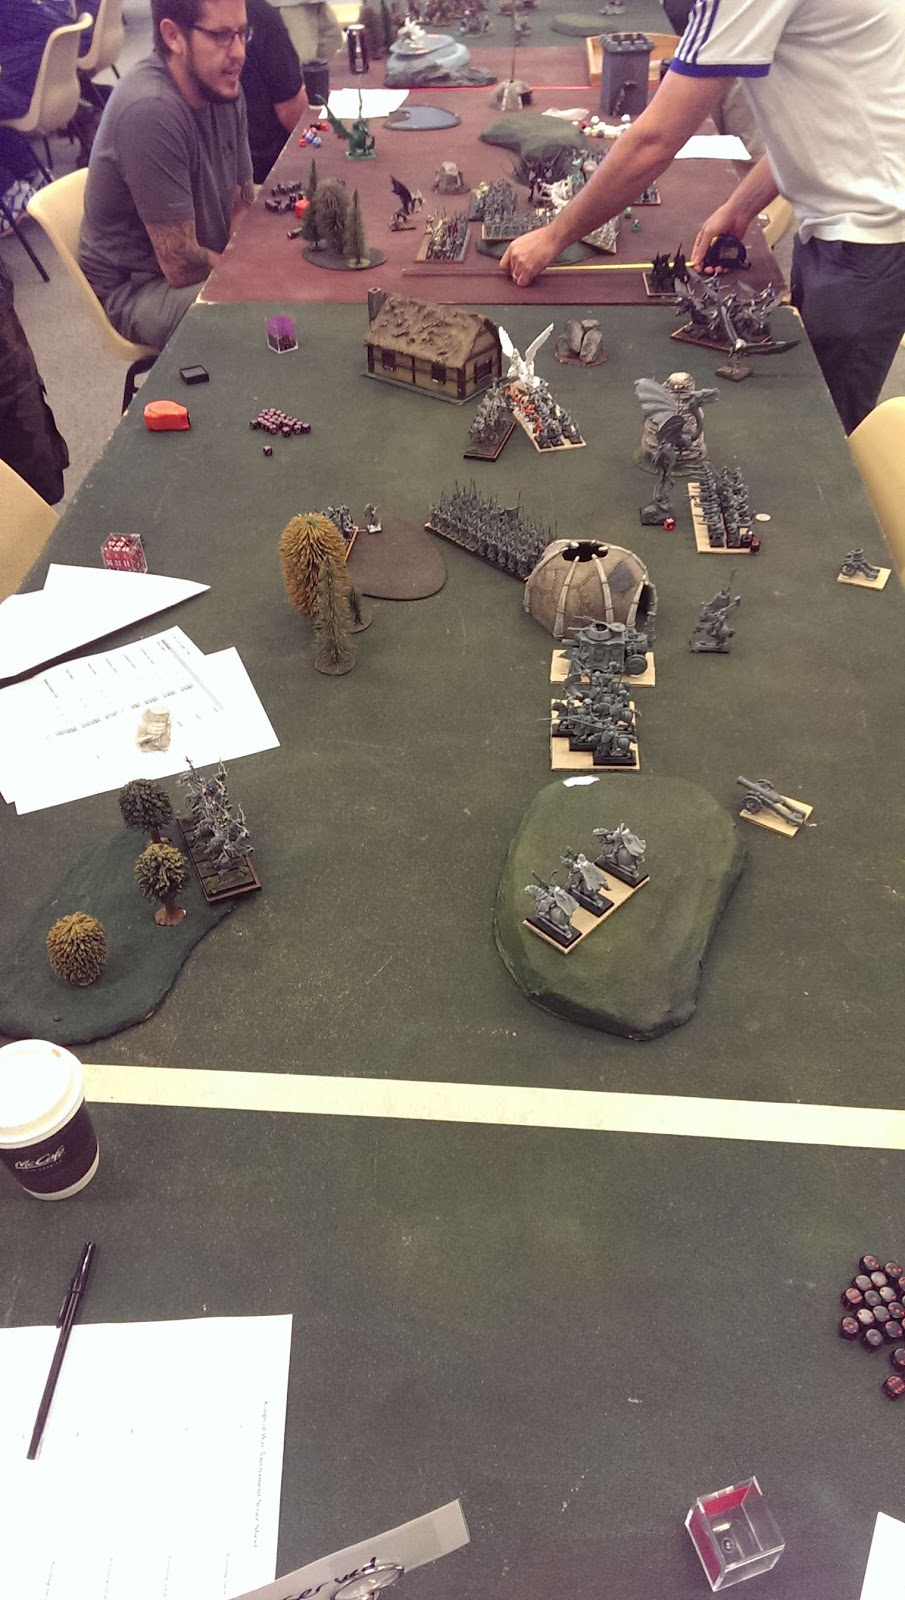
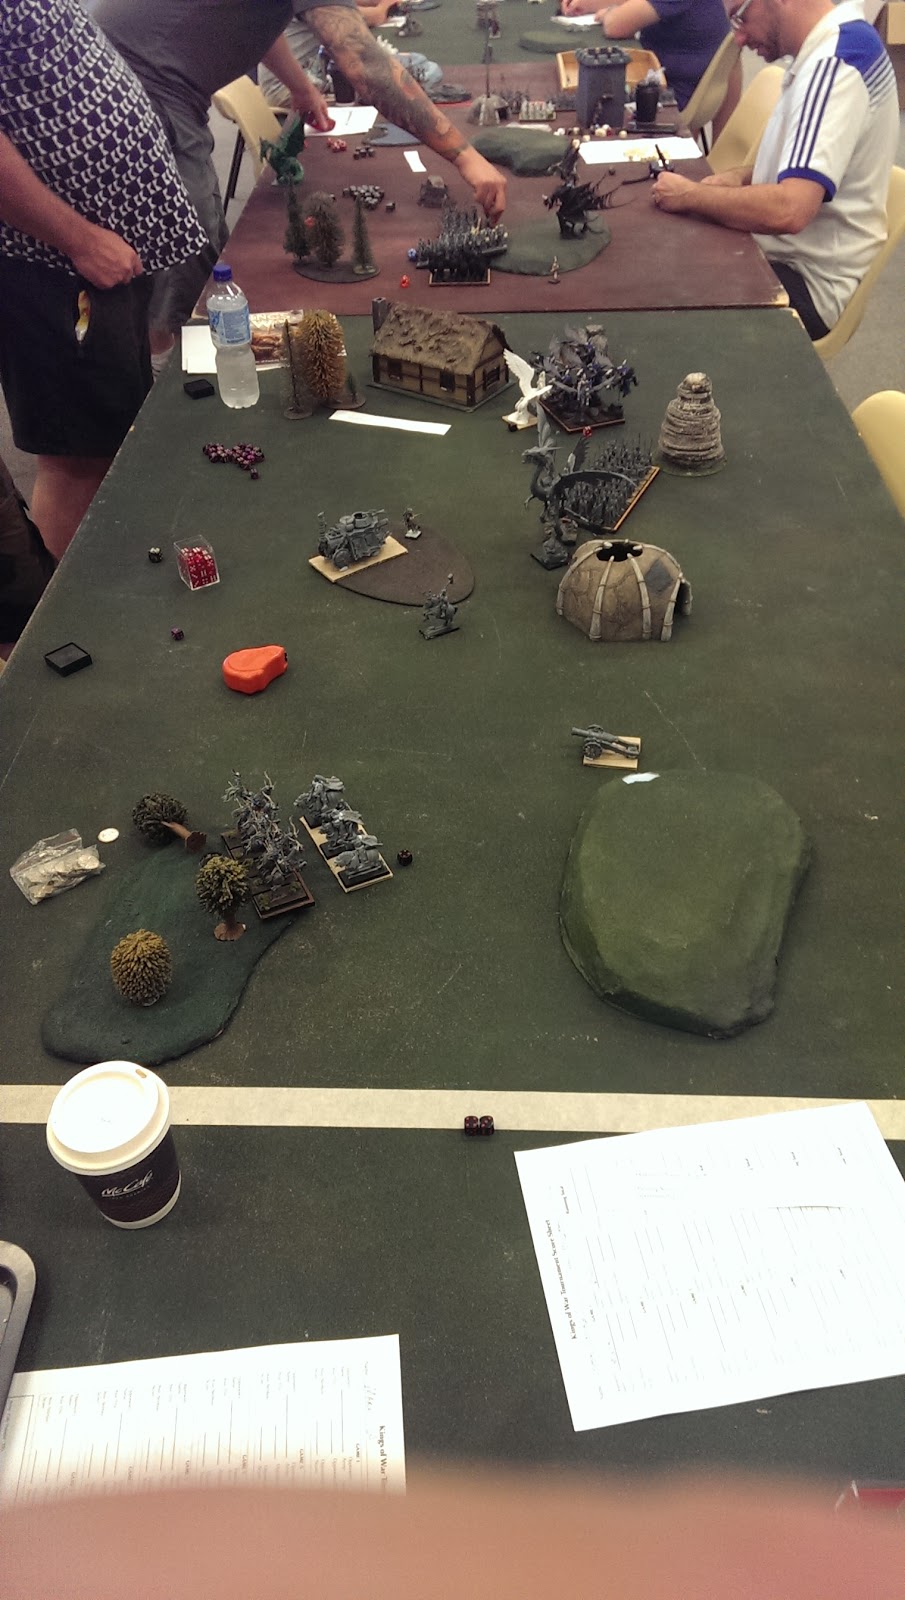
The Men of Westhaven face off against the Abyssal Dwarfs

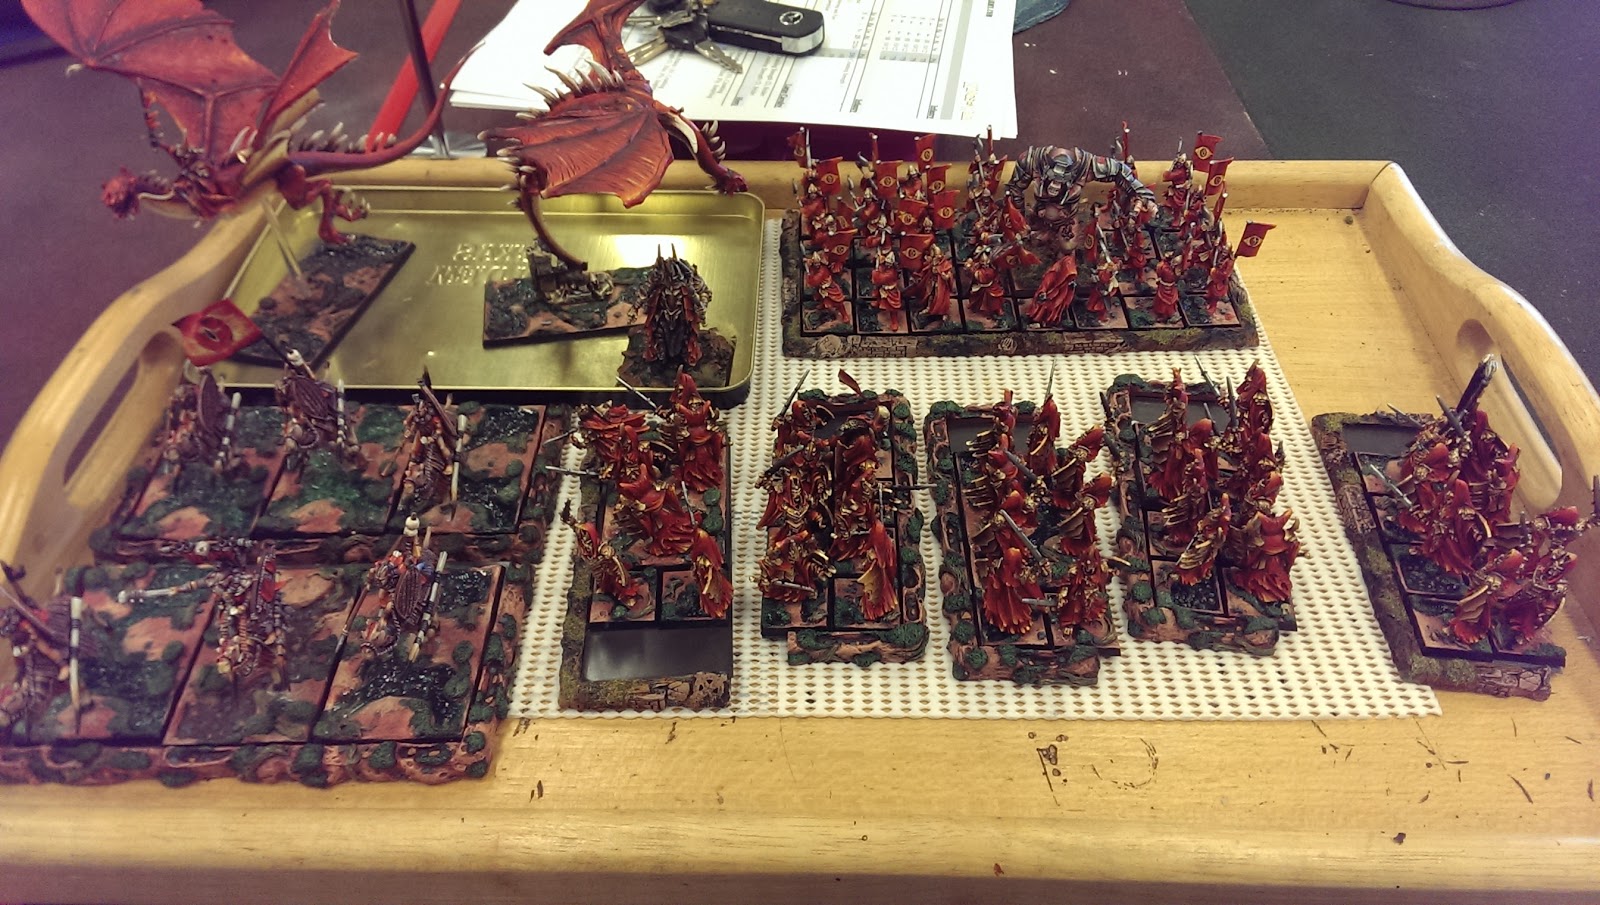
Lesser Obsidian Golems.

Abyssal Halfbreeds. My photos don't do them justice.

My List: League of Rhordia

This is my current 2k tournament list that I'm looking to take to the Sydney Game Championships at the end of July. It's as MSU as I can reasonably make it.

2 x City Militia Troops
4 x Musket Block Troops
2 x City Militia Spears Regiments
1 x House Guard Regiment
2 x Household Knights Regiments
1 x Halfling Iron Beast
1 x Baron, mounted with Mace of Crushing
1 x Duke on an Ancient Winged Aralez
1 x Army Standard Bearer, mounted with Healing Charm
1 x Halfling Sorcerer with Inspiring Talisman

His List: Abyssal Dwarfs

As you'd expect, his 2k list was quite different to his 2.5k list. He dropped the Iron Caster and Mortars, and brought in some Abyssal Halfbreed Champions.

4 x Immortal Guard Regiments
2 x Slave Orc Regiments
2 x Lesser Obsidian Golem Hordes
2 x Abyssal Halfbreed Regiments
2 x Abyssal Halfbreed Champions
2 x Slave Drivers

A lot of Def 5 & 6 units. The Golems are a helluva anvil, and the Halfbreed Regiments and Champions would be tough to avoid. No shooting or flying though. Also his anvils are slow af.

We rolled Pillage! with 6 objectives. I won the roll for deployment and chose the south edge.

Deployment
 I only had 2 extra drops on him, stacking my two Knight Regiments on my right flank. My plan was to desperately hold the one objective on my left, and take the three on my right.

Turn 1


Abyssal Dwarfs Turn 1
Dwarfs won the roll for first turn and elected to go first. He moving up, taking control of 3 tokens and making a strong claim on a 4th. His army had no shooting so nothing going there.

League of Rhordia Turn 1
On my left flank I moved up to take control of the objective, and prepared myself for an assault. I wasn't sure how I was going to deal with the golems if they charged in. I shifted my Duke around preparing to bring him over for a flank maybe. My leftmost rifle troop managed a couple of wounds on his Immortal Guards. On my right flank I rearranged my forces, positioning them to take the anticipated charge from the two halfbreed regiments and the champion. My two rifle troops put 8 wounds on his Slave Orcs and wavered them, while my Sorcerer managed to windblast the other Halfbreed Champion back into the forest. I didn't realise this at the time but this was a critical success, delaying the charge of that Champion by a turn.

Turn 2


Abyssal Dwarfs Turn 2
On my left he took firm control of the two objectives. In the centre he took another two, covering them with hard-to-shift Immortal Guard units. On my right he charged. One of his Halfbreed Regiments wiped my militia troop, the other combo charged my Iron Beast with one of his Champions. They put an impressive 11 wounds on the Def 6+ Iron Beast, but it held steady.

League of Rhordia Turn 2
I held steady on my left flank. I wasn't going to be able to get my muskets in a better position to shoot his Golems, and the muskets were all I had to counter them. I charged his lefthand Halfbreed Regiment with my Orange Knights, while my Iron Beast and Baron counter-charged the other Regiment. I thought about throwing the Duke into the fray as well, but I thought I'd set up a flank instead. He healed a couple of wounds on the Iron Beast.

My Muskets destroyed the wavered slave orcs, and it turns out I wouldn't need the flank from my Duke, as my Knights routed the halfbreed regiment in one turn. The Baron and Iron Beast did 6 wounds then stepped back.

Turn 3

Abyssal Dwarfs Turn 3
He held steady on my left, happy with the two objectives he was holding there. He continued to move forward in the centre, securing another objective and trying to get his Golems in the fray. On my right his Halfbreed Regiment counter-charged my Iron Beast and destroyed it, and then pivoted to face my other Knight Regiment. His Halfbreed Champions both charged, one going into my Duke, the other getting the jump on my purple Knights critically disordering them.

League of Rhordia Turn 3
The standoff on my left continued. I was slowly chipping away at the Immortal Guards on my far left, but they had cover so I was only putting on 0-2 wounds a turn. My halfling sorcerer windblasted the Golems into the forest, while my two musket troops started to put some serious hurt on his Immortal Guards in the centre.

I combo charged his remaining halfbreed regiment with my baron, orange knights, and Duke. They routed the halfbreeds and reformed to face the incoming Golems. My purple Knights countercharged the Halfbreed Champion, but without TC had a hard time getting through the Champion's armour.

At this point the Dwarfs were holding four objectives quite firmly. I only had three guaranteed turns left to wrest at least one from his control.

Turn 4

Abyssal Dwarfs Turn 4
He continued to hold on my left flank. His Immortal Guard units on my right sat on their objectives. His golems shambled forward. His two Halfbreed Champions charged my two knights regiments. I stuffed the diagram up here. In reality the orange knights routed while the purple ones were only wavered (but they have fury, so NBD).

League of Rhordia Turn 4
My left flank continued to hold. My muskets continued to pepper his Immortal Guards. My Duke managed to just get over the golems and set up a rear charge on them, while avoiding the charge arcs of his Guards regiments. My spears charged the Golems in the front, hoping to pin them so the Golems could not avoid the rear charge from the Duke next turn.

Turn 5

Abyssal Dwarfs Turn 5
He continued to hold on my left. By now I was convinced this was a mistake, but his army couldn't have really gotten anywhere in the 2 guaranteed  turns he had left. His golems countercharged my spears and crushed them handily. He tried to move forward out of my Duke's charge arc, but missed it by an inch or two. His Immortal Guards in the centre started to move forward, hoping to avoid a flank by my duke maybe, or perhaps set up a charge into my troublesome muskets.

League of Rhordia Turn 5
I finally decided to change the dynamics of the situation on my left flank. I moved one musket troop into the forest, so I'd now have two musket troops plinking away at the covered Immortal Guards instead of just one. My right flank muskets wavered this Immortal Guards in the centre.

My Duke charged the rear of the Golems, supported by my Baron in the side and a hindered charge from my knights into the front (my diagram's been a bit off, IRL my purple knights were in the southern forest). Critically and surprisingly to us both, this was enough to rout the golems. My units reformed to face the two Immortal Guard units.

At this point the Dwarfs were still in a winning position, but I was confident I'd at least snatch the draw in turn 6.

Turn 6

Abyssal Dwarfs Turn 6
Forgive my pants diagram. There wasn't much he could do in turn six. His Guards in the centre were wavered, the one on my right was holding an objective, and his units on my left flank were too far from anything now to make a difference.

League of Rhordia Turn 6
I charged his Immortal Guards in the centre with my knights and baron, and routed them, the knights reforming to face his remaining Guard unit. My Duke took the centre objective and healed up my knights a little. My muskets on my left continued to pepper his guards, who had about 6 wounds now. Consecutive 10's on a nerve check would be enough to rout them! What fun. My rightmost muskets moved forward to claim that objective. My sorcerer went for it, and windblasted his Guards off the objective. Despite a handy roll, they were still within 3 inches of it.

So at the end of turn 6 the game was a draw, each of us holding 3 objectives. We rolled, and went to turn 7.

Turn 7

Abyssal Dwarfs Turn 7
He moved his Guards forward to sit over the objective.

League of Rhordia Turn 7
I moved my muskets forward to sit on that objective, and combo charged his Guards with my Knights and Baron. The charges were hindered so they did sweet FA damage, but they ended the game within 3" of the objective, and that's all that mattered.

Result:

The League of Rhordia held 3 objectives, the Abyssal Dwarfs held 2, and the final objective was contested. A narrow win to the League!

I was expecting a bigger push on my left flank. I deployed defensively, hoping to weather the storm. Didn't have a real answer if he had charged my House Guard with his Golems, my House Guard had CS (1), but that was it. Even if my spears got a flank on the golems naked attacks against Def 6 suck. Anyway, I hoped my healing could keep them up a bit. I should have moved my very leftmost Rifles into the forest earlier.

The right flank was a congested mess. Destroying his half-breeds in one charge from my knights was unexpected and lucky. His Golems popped quicker than they probably should have too.

He suffered from a lack of chaff. Getting the first charge in is so important with heavy cav. His half-breed champions were excellent, but I was able to delay the arrival of one with my windblast. That was critical.

My Rifles did well. His army had no shooting which really helped me. I could sit in place and dictate terms of engagement.

During the game I felt I wasn't getting the most out of my Sorcerer, but on review I can see that he was critical in disrupting the enemy offence. An extra few wounds from bane chant would have been less useful.

His Immortal Guard Regiments are good anvils, but without shooting or flying pressure I didn't have to engage them at all. Slow and lacking any CS, they aren't a huge threat.

Despite this, I got lucky. The lack of Pathfinder meant my knights were largely stripped of TC. If my Iron Beast had popped in one turn and his Golems or half-breeds had lasted one more, I would have lost. If we had rolled for fewer Pillage tokens I would have lost. If we had ended at turn 6 it would have been a draw.

I need to work on my Deployment and movement in the first couple of turns.

For Christo, I'd consider dropping a regiment of Immortal Guard for an Iron-Caster or a heavy mortar.

A fun game, looking forward to getting better at the movement phase. Thanks for reading.


Monday, 13 June 2016

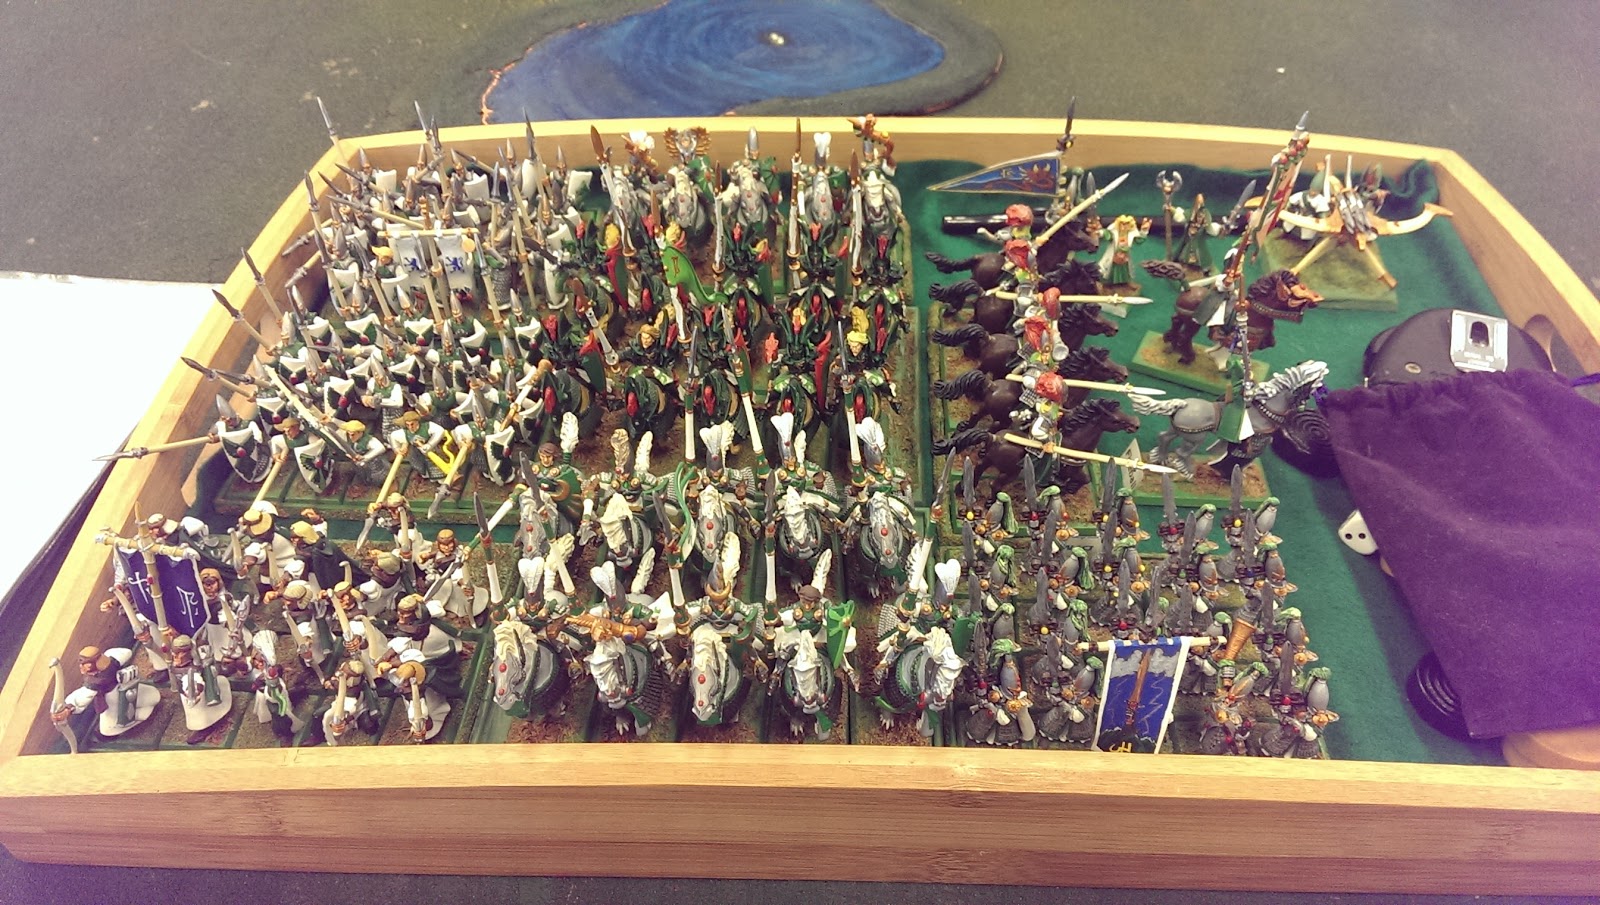
Westhaven Grand Company Display Board WIP


Nearly finished! I need to do a bunch of small things before it's done, including:

  • finish painting & basing the two spear regiments in the second rank.
  • repair the army standard bearer in the front row (dropped him while testing the effectiveness of the base magnets)
  • seal the flock on the display board
  • give the bases of my knights and shield wall horde some love


But I ~should~ get that done by the 25th.

Friday, 10 June 2016

Thoughts on MSU army design

Since jumping into the hobby and Kings of War in February, I've played a number of tournaments / competitive games at 2k & 2.5k. Inspired in part by Pawel's blog, and in part by my own experience, I wanted to give Multiple Small Units (MSU) a try.

First up, I have to declare that my list building philosophy is more influenced by the models that I have than some strategic ideal. I purchased 90% of my WHFB Empire models as a bulk lot. I've shelled out for the odd bit or piece, but I'm (trying) not to spend more on this project. So, while I like the idea of running three halfling volley guns or a horde of demigryphs, I ain't gunna.

Anyway, on to my post hoc list justifications.

Up until now, I've run as many hordes as I could. A horde of Foot Guard or Shield Wall, I was building another Spear Phalanx Horde too. The keystone of my offence was my Horde of Arquebusiers with Brew of Keen Eyeness. 20 shots hitting on 4s with piercing 2. It's a pretty intimidating unit to be sure.

But it's just too easy to deal with for experienced players. Individuals can disrupt it from Turn 1-3 (depending), and if those individuals are say vampires or pharaohs that's it for the game for my Horde.

With reload, Cavalry can wait till I move the Horde and get stuck in then. With about half the scenarios I can't afford to leave my most expensive unit static the whole game.

24" is an annoyingly short range, and can be worked around. With clever positioning a flyer can get into the flanks of a shooting Horde without once exposing itself to fire.

My Horde at best could delete one unit per Turn, and that's great until your opponent comes at you with a range of stuff.

And while 20 attacks is a lot, there were too many occasions where I would only end up applying <5 wounds due to poor rolling. I can't afford that. KoM are a hard army to play to begin with, can't afford to expose yourself so much to the odd fail roll.
It loses to bows in a shoot out. Elves especially can take them apart. Def 3 means they melt. The Dwarf version at least is Def 4 and has headstrong.
So I decided to split my rifle Horde into 4 troops. It's much more expensive (400 points for the troops compared to 270 for the Horde) but it's much more versatile, and gives the enemy harder choices. With my Horde, they had no choice. They had to deal with it.

And I decided that while I was at it I'd split up the rest of my stuff as much as possible. My spears Horde became two regiments, my halberds Regiment became two troops. I left my knights as Regiments because I'm not insane and I left my Greatswords as a Regiment because I couldn't bear to split the base up, I really like how it turned out.

So anyway.

Part of my intent is to create headaches for my opponent by giving them a heap of options, by making them choose and second guess themselves.

At the moment my obvious hammers are my 2 Knight Regiments, my Beast of War / Iron Beast, my Foot Guard / House Guard Regiment, and my General on a Winged Beast / Duke on an Ancient Aralez. But that's 5 targets. All worth about 200 points, but none critical. Then I've got two war machines and 4 shooter troops. That's a lot of targets worth roughly 100 points each.

So theoretically my opponent won't have any obvious targets. From experience they will go in hard on my Steam Tank in the early turns. People love shooting at that thing. Doesn't matter if I'm running it as an Iron Beast (Def 6) or a Beast of War (5). Arrow magnet.
Out deploy. I have 16 drops at 2k, and 21 at 2.5. I'm going to have 3-5 more drops than most of my opponents, which means I can drop my hammers last, after everything is down. Will I stack one flank or the other? Both? Will I hold them behind my infantry line? Who knows hey. But dropping 33 - 50% of my army by points value after my opponent has completely deployed should give me some advantage you'd think.

With so many units, it becomes extremely difficult for an enemy to engage in melee without giving up flanks or even rears.

The weaknesses. A lot of low nerve units means that I am extremely vulnerable to an enemy who has many sources of ranged damage. My troops can take 2 wounds before an average nerve roll will waver them.

I'm not worried about the Ogre shooter Horde, or heavy Artillery. I'm worried about the Ogre warlocks. The Goblin wizards. Elven bolt throwers. Night stalker mind flayers. Silverbreeze Cavalry. I can ameliorate this a little by making sure I have inspiring bubbles all over my units, but only a little. Unfortunately my local meta has a few armies that run these sorts of units, so I'm going to have to learn the hard way.

I will also struggle against high def individuals. Most of my anti armour comes from shooting, and shooting at individuals sucks.

Other challenges:

I have a lot of infantry, and it is easy for them to get in the way and act as a reverse screen. Inspiring doesn't stop units from wavering. If I don't have my units in position to counter punch with flank attacks or at least multiple front charges I'm going to get absolutely pantsed.

Game play speed. With so many drops and sources of shooting, I'm going to really have to move quickly to finish games in a timely manner in a tournament environment. I'm not the slowest player in Canberra, but I'm up there hey. I need to train myself to make the correct decisions quickly. And making the correct decisions will be more critical with this army than usual.

I'll have an easier time in the pillage scenarios, I'll struggle with dominate, and who knows about the others.

Oh man I'm going to get slaughtered hey

Battle Report - vs Abyssal Dwarfs

Played a casual 2.5k game last night vs a chap called Christo. He's new to town, I hadn't played him before. He had a pretty impressively painted Abyssal Dwarfs army, another first for me. I played my MSU list, hoping to get some practice in before the tournament at the end of the month. 

I should have taken better notes, but his list consisted of a lot of Regiments of Dwarf infantry, a couple of hordes of Golems, two regiments of abyssal half-breeds, some slave orc Regiments, and a bunch of iron casters. Also three heavy mortars. No flying. We rolled loot, and deployed. I had 3 extra drops, so was able to deploy my knights and war beast after he was completely down.

This is my first time using Battle Chronicler for a batrep. It's pretty cool, but a bit of a learning curve. Hopefully I'll get quicker with practice because it took like as long to write this report up as it did to play the game.

I should have taken close ups of his golems hey

Deployment


This is pretty much how it looked. Terrain is a little off. The three skull icons are the loot tokens. Christo picked sides, and elected to move first.

I was pretty happy with my deployment. In hindsight I should have probably moved my cannon (Arse Kicker) up to the line, to get a clear LoS to targets. It ended up only getting off one clear shot. And the muskets I sat in front of my spears were fairly wasted, not getting many clear shots away.

Christo made a big error in sitting his golems on the far flanks, especially the ones on my left. His idea was to run them around the impassable terrain and come at me from the flank, but with a shambling horde I don't think that was a realistic prospect.


Abyssal Dwarfs Turn 1

Kingdoms of Men Turn 1
We both moved in, pretty congested lines for both of us. With my superior speed (lol dorfs) I was able to set myself up for charges next turn, but out of his charge range this turn.
Abyssal Dwarfs Turn 2
He continued to press forward, his slave orcs picking up the token on my left, and his centre basically surrounding the centre token but not taking it. His flank on my right was congested by terrain and such, so just shifted about to take my charge. He landed still more wounds on my beast of war with his mortars. I needed an inspiring roll to save it.

Kingdoms of Men Turn 2
This was the critical turn for me. On my right I charged in and killed his golems, and tied up the rest of his units with melee. My scouts were able to grab the token, and with nimble they were turned about and off the board in the next couple of turns. In the centre I was heavily congested, my shield wall horde just generally being a pain. But I had a plan. My General flew behind his lines, setting up a bunch of rear charges.

The Rest of the Game
And this is where I got bored with Battle Chronicler / my notes got too sparse. Basically what happened is my Scouts ran off the the token on my right. In the centre he killed off my infantry and grabbed the token, but my knights charged in from their reserve positions, and killed his wounded stuff, and took the token. On my left, my House Guard and my General combined to take out his Immortals, and my militia wavered his slave orcs. His other Immortal regiment and his horde of golems were out of position, and generally not able to threaten anything. We called the game after turn 4, when it was clear that he could not stop me taking off my two tokens.

It was a really fun game, Christo was very chill, and his models looked sweet as. Check out the paintjob on his golems if you get the chance, excellent lava effects.

This was my second game with my MSU list, and I gotta say I'm loving it.


My Upcoming Tournament Lists

I have two tournaments upcoming. The first is Kings of June, 25 June. This is a once-every-two-month tournament hosted by 3D6 staff. Usually gets about 10 entrants.  2500 points, no comp. The second is the Sydney Game Championships, 30-31 July. 2k points, no comp as of yet but I'm anticipating that the CoK pack will be used.

I've decided to run two similar lists for both tournaments, following my MSU philosophy. My models (WHFB Empire) suit either Kingdoms of Men or League of Rhordia. I've spoken a little bit about the differences here. I'll talk about my list philosophy (such as it is) in a later post.

The Lists:

2500 - Kingdoms of Men - The Grand Company of Westhaven

Infantry

Shield Wall Horde
Foot Guard Regiment (with two-handed weapons)
Spear Phalanx Regiment x 2
Pole-Arms Block Troops x 2
Arquebusiers Troop x 4

Cavalry

Knights Regiment x 2
Mounted Scouts Troop with carbines

Artillery

Cannon
Siege Engine 
Beast of War with Light Ballista

Heroes 

Army Standard Bearer, Mounted, with Healing Charm
Army Standard Bearer, with The Boomstick
General on a Winged Beast
Hero, Mounted, with Blade of Slashing
Wizard, with Lightning Bolt and Bane Chant, and Inspiring Talisman 

2000 - League of Rhordia - The Company of Prinz Johannes of Westhaven

Infantry

City Spear Militia Regiment x 2
House Guard Regiment
City Militia Troop x 2
Musket Block Troop x 4

Cavalry

Household Knights Regiment x 2
Halfling Iron Beast

Heroes 

Baron, Mounted, with Mace of Crushing
Duke on Ancient Winged Aralez
Halfling Sorcerer with Inspiring Talisman.

Sunday, 15 May 2016

Tournament Report, Kings of Dave 4


I usually run my army (mostly old WHFB Empire models) as Kingdoms of Men, but for a tournament over the weekend I decided to run them as League with KoM allies. It was a 2500 point no comp 4-game swiss tournament in Canberra, Australia.
My List:

KoM Allies:

  • Horde Arquebusiers with Brew of Keen Eyeness
  • Troop Mounted Scouts with Mace of Crushing
  • Cannon
  • Hero, Mounted with Blade of Slashing
League:
  • Horde City Spear Militia
  • Regiment House Guard
  • Regiment City Militia
  • Regiment Household Knights with +pathfinder
  • Regiment Household Knights with +nimble
  • Halfling Iron Beast
  • Halfling Howitzer
  • Army Standard Bearer, mounted, with healing charm
  • Halfling Sorcerer with wings of honeymaze
  • Halfling sorcerer with inspiring talisman
  • Duke on Ancient Winged Aralez + ensorcelled armour
  • Duke on Ancient Winged Aralez + brew of haste

Like I said, I usually run KoM, but I wanted to try out three changes in particular.
I wanted to see if the Halfling Iron Beast was more useful than a KoM Beast of War.
I wanted to see how annoying two windblast (7) casters could be, over bane chant wizards.
I wanted to see if the Duke on Ancient Winged Alarez' were worth the extra points over the KoM General on a Winged Beast.

My opponents were:
Game1: A very punchy Orc army, with some goblin chaff and war machines allied in. (Kill, big Loss) I deployed in a pretty tight 'castle' formation, around my shooters on a hill. My shooting did ok, but he was into me by turn 3, and who knew that getting caught in melee with orcs was a bad idea? I should have deployed out wider I think. He used terrain and goblin chaff very well to protect his flanks, and once his morax regiments got stuck in it was all over. This was one game where I really wished my Halfling Iron Beast was a Beast of War. The Orcs chewed through it quickly anyway, and despite the high number of attacks, hitting on 5s just sucks.

Game 2: A very shooty elf army, with some FoN allied earth elementals (Kill & Pillage, Win). If my iron beast was a dud last match, he was the star of this one. My opponent had two sea-guard hordes, and they just could not get through my Iron Beast's armour in time. My heavy artillery took care of his earth elementals, and my 2 Dukes were able to keep his dragon lord contained.

Game 3: A pretty standard undead army. (Loot, Draw) This was a very cheeky draw for me. By the end of the game I had killed ~900 points of his, while he had killed ~2100 points of mine. I only had the regiment of House Guard and the Iron Beast left. Unfortunately for him my House Guard had one of the loot tokens, and my Iron Beast was screening the other one (if I had played my last 2 turns better I could have actually picked it up and snuck out with a win). Lesson here is to always play the objectives hey. Also shambling legions and hordes are slow af to pick up objectives hey.

Game 4: a ~very~ shooty Twilight Kin army. (Dominate, Loss) The most frustrating game by far. He managed to waver a bunch of my units through a combination of his bolt throwers and perfect nerve rolls. Any lower and I would have held steady, any higher and I would have got the inspiring re roll and almost certainly held steady. I managed to desperately cram a lot of stuff in the centre, and windblast his stuff out. If the game had ended turn 6 it would have been a draw, but it went to turn 7, and he was able to kill one of my Dukes in the scoring zone, and push his units deep into the zone (so I would have needed perfect rolls to blast them out again).

So, would I have been better running KoM over LoR? As you'd expect, some games yes, some games no. The windblast sorcerers were very terrain and scenario dependent. We played 2 kill scenarios in this 4 game tournament, but if we had played more objective type ones, they would have been more useful. I also played 2 games on a board that had no difficult terrain (to push things into), so I'm not sure I can draw a line under this experiment yet.

The Iron Beast was tough, and hung around for 3 out of 4 games. I was disappointing in combat, but at least it made it into combat hey. My Beast of War is usually shot off the table before it can get in. Iron Beast was excellent against low CS/Piercing opponents, the Beast of War would be much more useful against high CS opponents. So it depends on your local meta hey.

The Dukes were pretty cool. I only used their heal spells a couple of times over the 4 games, but the iron resolve was awesome. You pay 35 extra points (over a General on a Winged Beast) for 1 extra attack, TC 1, Heal (4), and Iron Resolve. I think that's a good deal, and it was handy having a couple of points dense units to help me score on dominate. But if you're playing in a comped system (disordered flyers lose fly, flyers score 50% on invade/dominate), I think the General on a Winged Beast would be better.

Monday, 29 February 2016

Kings of February Tournament Report

Kings of February Tournament Report

Tas Stacey

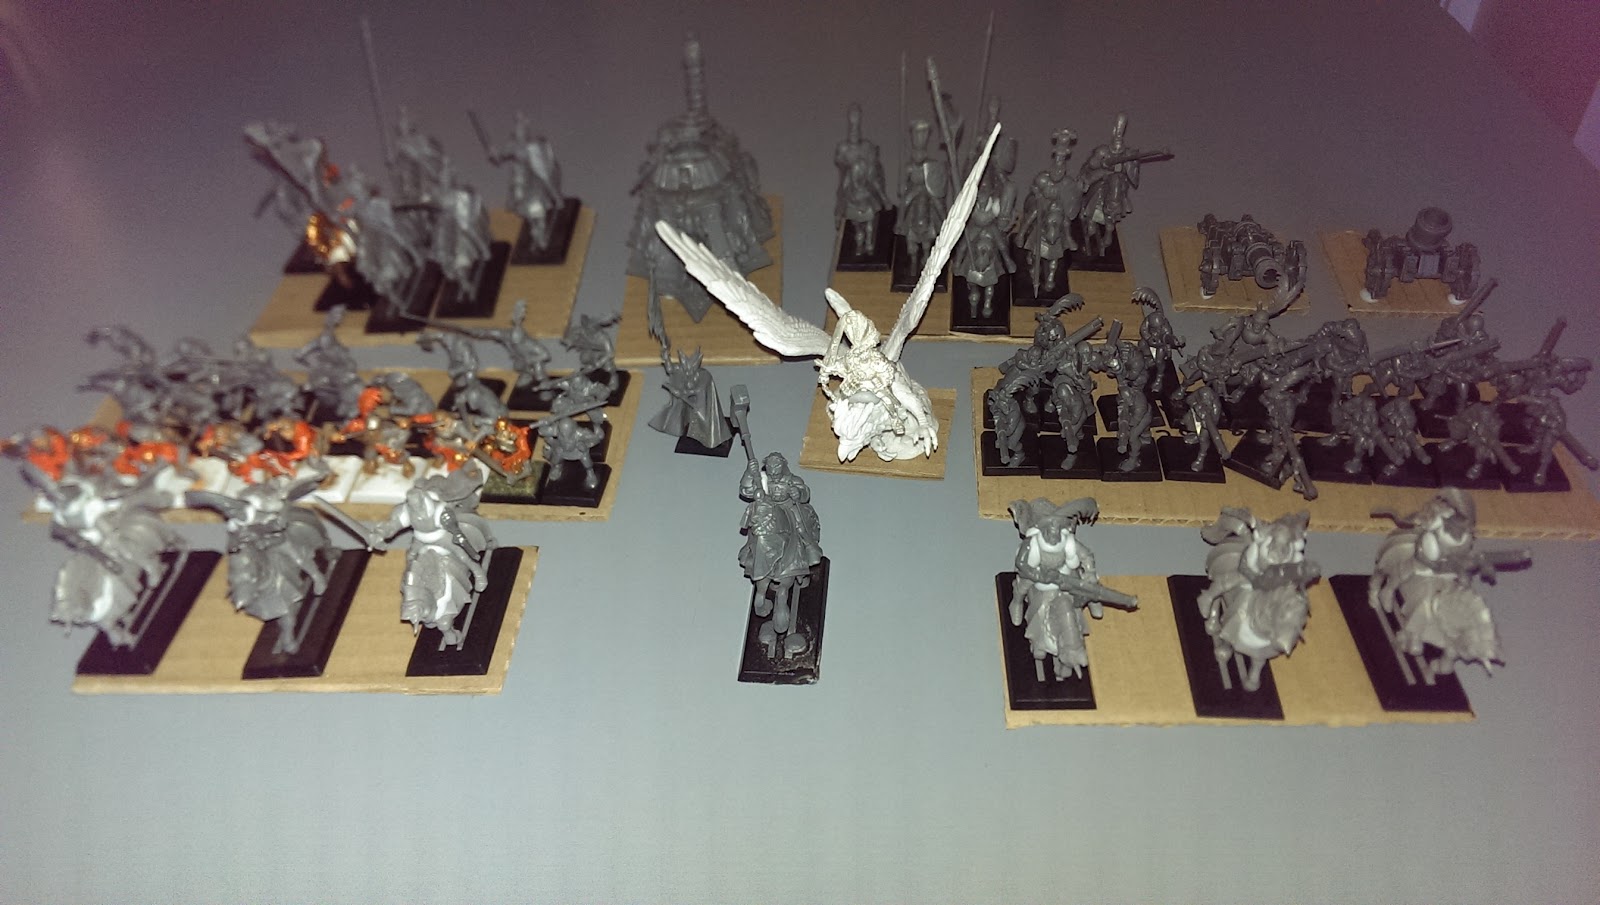
The Westhaven Militia in all their unpainted glory. I’ve started painting the Foot Guard Horde and the Knights, but it’s going to take a while to finish eh. Hopefully I’ll get it all done in the next 3-4 months.


Back Row: Knights Regiment, Steam Tank (counts as Beast of War with light ballista), Knights Regiment, Cannon, Siege Artillery.
Middle Row: Foot Guard Horde (with Brew of Strength), Wizard (with Bane Chant), General on a Winged Beast (with Ensorcelled Armour), Arquebusier Horde (with Brew of Keen-eyeness).
Front Row: Mounted Scout Troop (with carbines), The Captain (mounted), Mounted Scout Troop (with carbines)

Background

This was my first Kings of War tournament, in fact my first wargaming tournament ever. I’ve been a gamer for close to two decades now (mostly TRPGs like Dungeons & Dragons, MtG, boardgames, etc). I’ve always been interested in miniature wargaming, but the barriers to entry in terms of monetary cost and time were just too high to justify for me.


I got into KoW after a mate (Oldy) introduced it to me at Cancon. He convinced me (it wasn’t very hard tbh) that this game was The One. I managed to pick up an old GW Empire army secondhand, based it up for KoW, and played 3 games over February. The tournament was held at Three D6 in Tuggeranong, a great FLGS where I play KoW on thursday nights. We had 10 people in the tournament, 2000 points, 3 rounds Swiss.


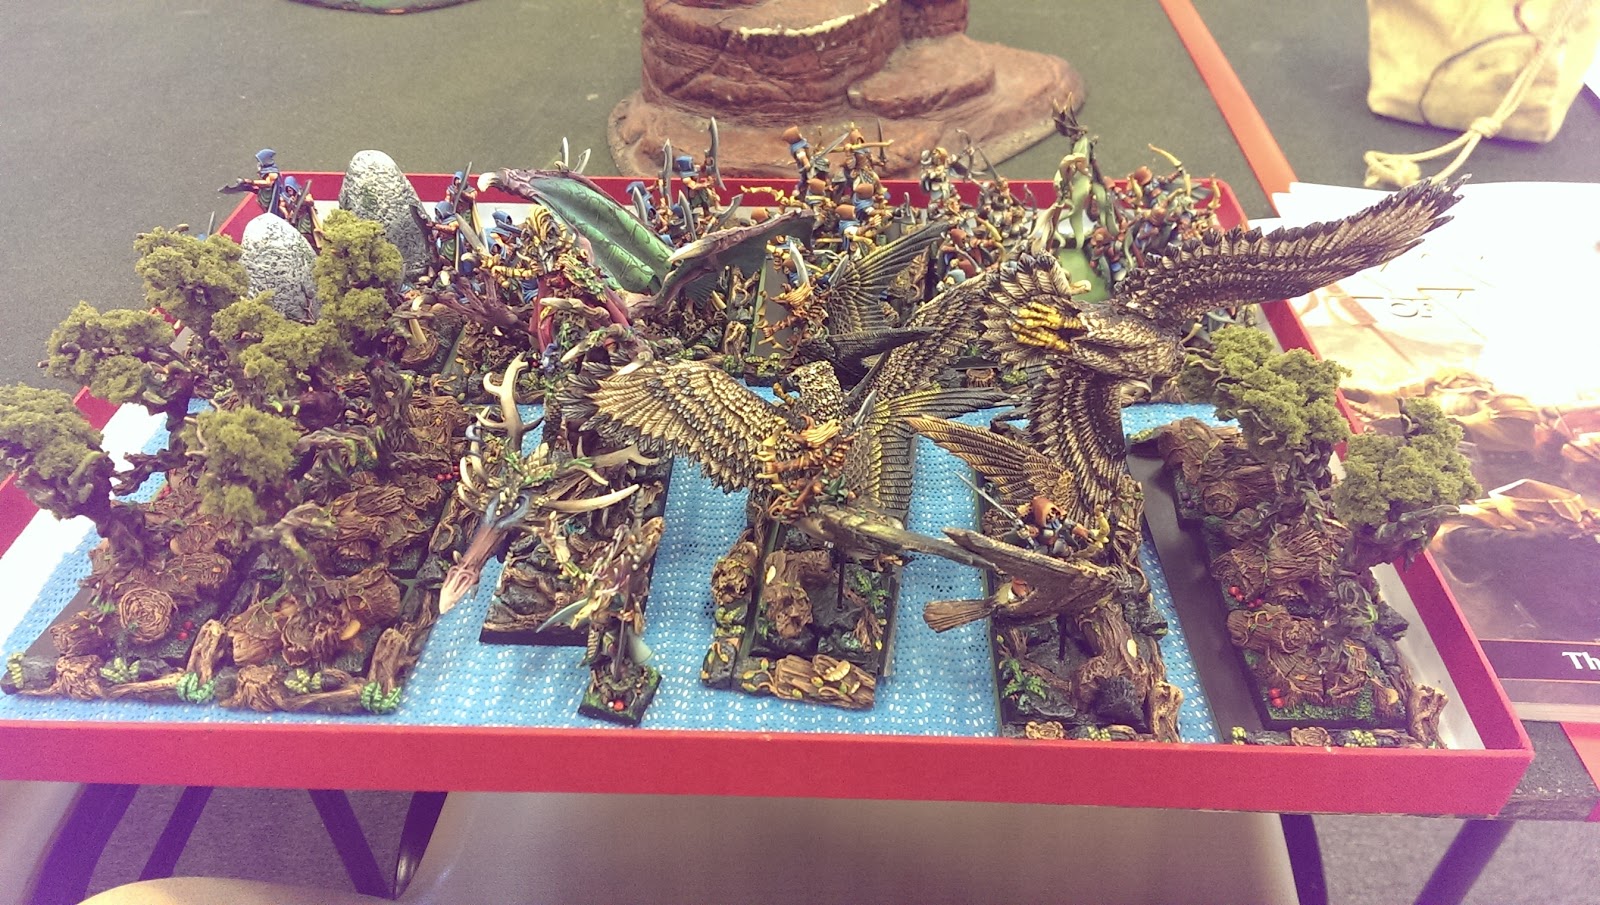
There were some gorgeously painted armies there:


I voted for these wood elves as best painted.


Game 1

I was up against a guy called Mark and his elves. I forgot to take a picture of his list, but it went something like:
  • Silverbreeze Cav Troop x 2
  • Sea Guard Horde
  • Palace Guard Troop
  • Stormwind Cav Regiment
  • Dragon Kindred Lord x 2
  • Drakon Rider Horde
  • Mage


We were playing the Invade! scenario, and deployed like this:


I didn’t really have a realistic plan at this point. I should have pointed all my war machines and rifles at the drakon riders and dragons, but instead I focused on the Sea Guard (a hybrid archer/spear unit) in the centre. I sort of thought I could roll his Silverbreeze cav on my left, crunch the centre with my Steam Tank, and then pivot around to take the rest of his stuff. Yeah. I don’t know why I thought my Movement 5 & 7 units could outmaneuver his Movement 10 flyers, let's just say I was optimistic.


My first turn went great I thought, I wavered one of his Silverbreeze Cav Troops, and routed his Stormwind Cav Regiment. I had my General on a Griffon with a defended flank, and my Foot Guard Horde ready to charge across the centre line. The situation at the end of my first turn looked like this:


But this was where I made a crucial mistake. I held my knight regiment on my right flank back. The idea was to use them as a second line of defence, charging anything that tried to flank or rear charge my General or Foot Guard Horde.


Instead what happened was my knights in the back corner were charged by both his Dragon and his Drakon Rider Horde. Together they routed my Knights in one turn, and then did a 180 pivot. All of a sudden I had two massive units with a rear charge on half of my army. And his other dragon charged my Arquebusier Horde, disrupting them. I was cooked mate.


I fought on, but caught between his Sea Guard Phalanx at the front and 2 dragons + Drakon Riders behind, Mark just picked me apart. I got my Beast of War, one Mounted Scouts Troop and The Captain into the scoring zone, vs his Sea Guard Horde, 2 Dragons & Drakon Riders. 17 - 3 loss.


It was a fun match, and Mark got my overall vote for sportsmanship. He helped me quite a bit with the rules, and was a dude to play against. I still don’t know how I’m supposed to deal with units like Dragons, Elohi, Drakon Riders etc (with my Kingdoms of Men army at least). Certainly not 3 of them at once. I guess if I engaged one with my Beast of War, tagged the other with my war machines and rifles simultaneously, and threw chaff at the third, I ~might~ be able to take one out. But that seems like a real long shot to be honest.

Game 2

This game was Dominate!, against Tony’s Ogres.


Tony’s list was something like:
  • Berserker Braves Regiment
  • Berserker Braves Horde
  • Bomers Horde x 3
  • Warlock x 4
  • Red Goblin Blaster x 2
  • Giant


This one was going to be an uphill struggle for me right from the get go:


In the Dominate! scenario, you only score points for units that are completely within a 12” radius circle in the very centre of the board. But as you can see, there was a piece of unpassable terrain right in the centre, taking up like half of the scoring zone. Plus a couple of pieces of unpassable terrain just outside the scoring zone. It was going to be extremely difficult for me to fit my infantry hordes into there. Still, I gave it a shot.


I sent a Regiment of Knights and a Troop of Scouts to tackle his Giant on my left flank. I sent my other Scout Troop to try and slow down his two Goblin Blaster carts on the right, and sort of moved everything else up the middle, trying to crowd out as much of the scoring zone as possible.


The giant tore through my knights and scouts. My Steam Tank and General got into it in the middle, and took out a few units. But his 4 warlocks had 48 Fireball rolls between them, which was just a fkn devastating thing to try and deal with at close range.


By the end I had my Beast of War, Captain, and Wizard in the scoring zone, vs all his warlocks, one of his Boomers, and both of his Berserker Braves units. Another 17 -3 loss.

Game 3

After lunch it was time for the last game, against Luke (? I think, I was pretty saturated with new names by this point) and his Empire of Dust army.


His list (excluding magic items) was:
  • Skeleton Crossbowmen Regiment x 2
  • Mummies Troop x 2
  • Enslaved Guardians Regiment x 2
  • Swarm Regiment
  • Skeleton Cavalry Troop x 2
  • Bone Giant
  • Reanimated Behemoth
  • Pharaoh x 2


We played the Pillage! scenario. If the terrain was all against me in Game 2, it was all in my favour Game 3.


We had to fight to control those 6 green circle objectives, and there was a nice big killing field right in the middle for my artillery and rifles to cover.


I won the roll to go first, moved up and took the high ground, and my shooters just did their thing. Basically everything worked for me this game. My mounted scouts were able to force nerve tests with their carbines, my war machines pummelled his Behemoth and Giant, I got units into his two crossbow units by turn 2, while my Foot Guard horde and Steam Tank just marched up the centre.


I was able to replicate the move that sunk me in Game 1, when my Knights regiments on both flanks were able to penetrate deep, rout a unit, and then reform facing the flanks or rear of the bulk of his army.


And that was pretty much it. His Pharaohs lasted until the end (man they are practically impossible to kill. Like for reals), but the rest of his units were routed, and I controlled all 6 objective markers. 20 - 0 win for me.


I felt bad for Luke, his list was just not built for this scenario and terrain. Because we had to be so spread out to compete for so many objectives, he wasn’t able to pull off any flank charge surge shenanigans. And his most durable units (the Pharaohs) don’t count when it comes to controlling objectives (because they are individuals). If we were playing Loot! or Dominate!, he would have had a much easier time I think.

Conclusion

I finished the tournament 7th out of 10. Really happy with that result for my first competitive outing. I used my Flying General, Mounted Scouts, and Steam Tank much better than I have in my first few games. My rifle horde hits like a truck, but I’m thinking about swapping the +1 to hit magic item for the +12” range one. It is just too hard to get them to a position where they can be effective without being disrupted so quickly by flyers. I would also like to squeeze Scrying Gem back into my list, and maybe beef up my knights with pathfinder, crushing strength, or extra speed.


But overall I’m actually pretty happy with my list. I just need to get a bit more experience with dealing with them pesky flyers and I’ll be laughing I reckon. Kings of War is a great game, and Three D6 throws a great little tournament. I’ll definitely be at the next one!